|
|
Ben's UniverseElectronics, programming, and more |
|
| Home | Electronics | Software | Automotive | Miscellaneous |
|
|
|
Ben's UniverseElectronics, programming, and more |
|
| Home | Electronics | Software | Automotive | Miscellaneous |
|
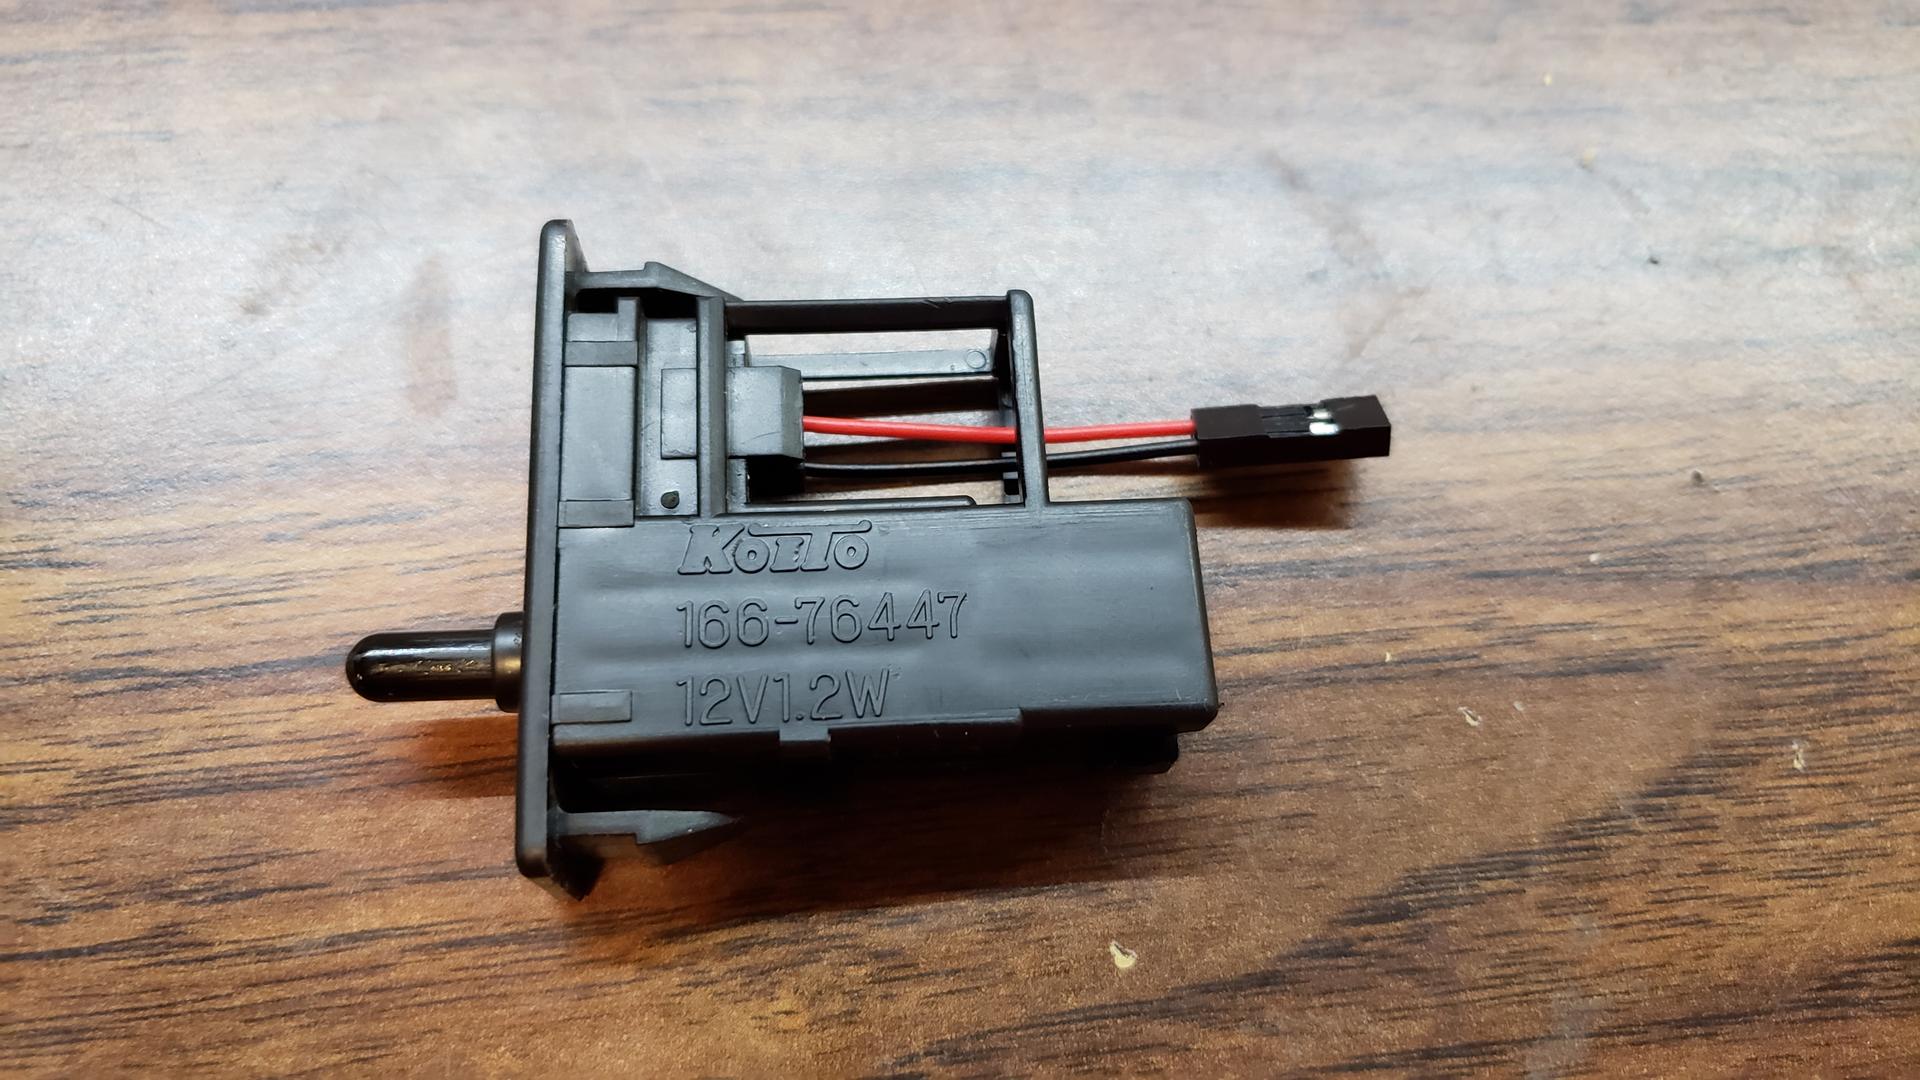
LED Glove Box Light Upgrade for Toyota CelicaAutomotive October 08, 2018 by BenIn the process to replace my internal lights with LEDs in my Celica, I decided to take some photos of my process to replace the glove box light. At the time, I used a generic LED light upgrade kit for internal lights, but the connector was different, so I modified the glove box light housing. This post contains the steps and pictures from this process. ContentsPartsThe only tools needed are a phillips screwdriver and a 10mm socket. Other tools may be handy for the light assembly modification, such as tweezers or a spudger to open the housing. Step 1: Remove the glove boxRemoving the glove box is fairly straightforward. After opening, remove the three phillips screws holding the top of the glove box frame to the car. 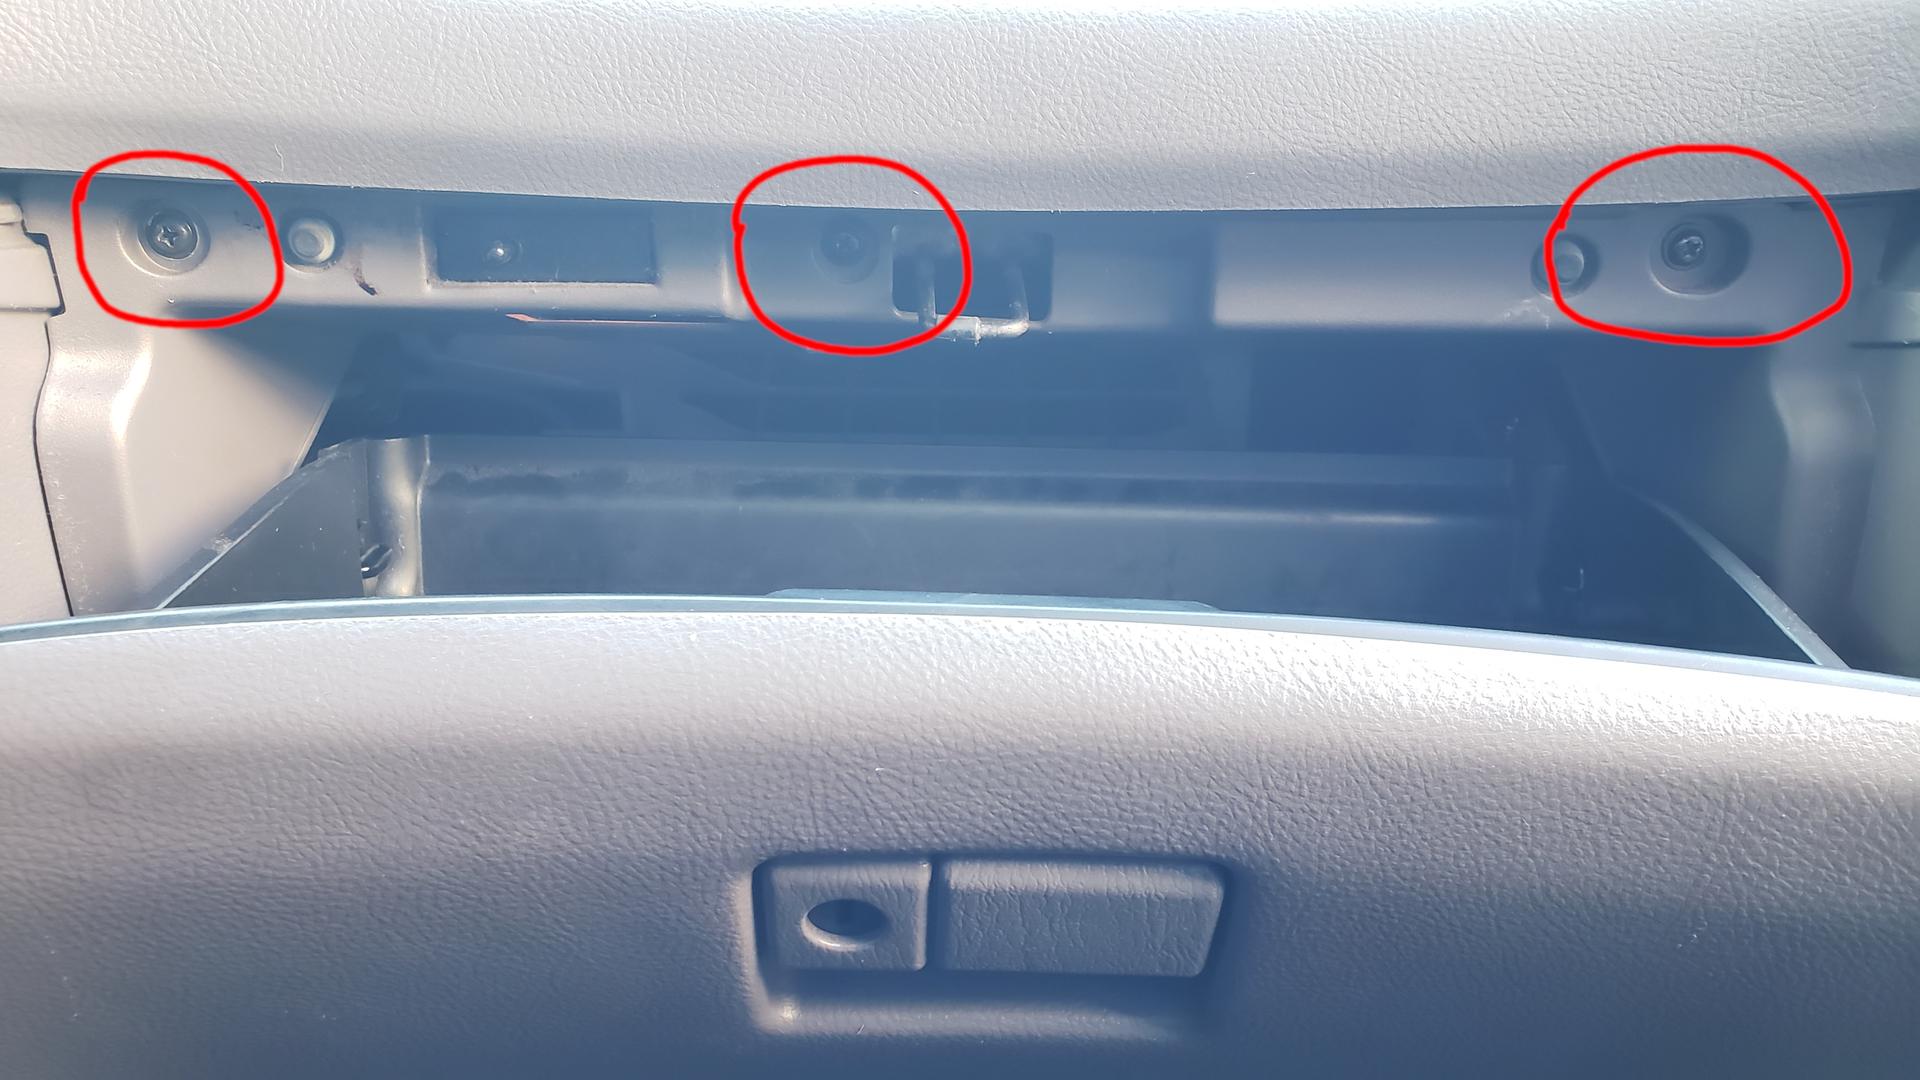 Then, remove the two 10mm bolts holding the bottom of the glove box to the car. 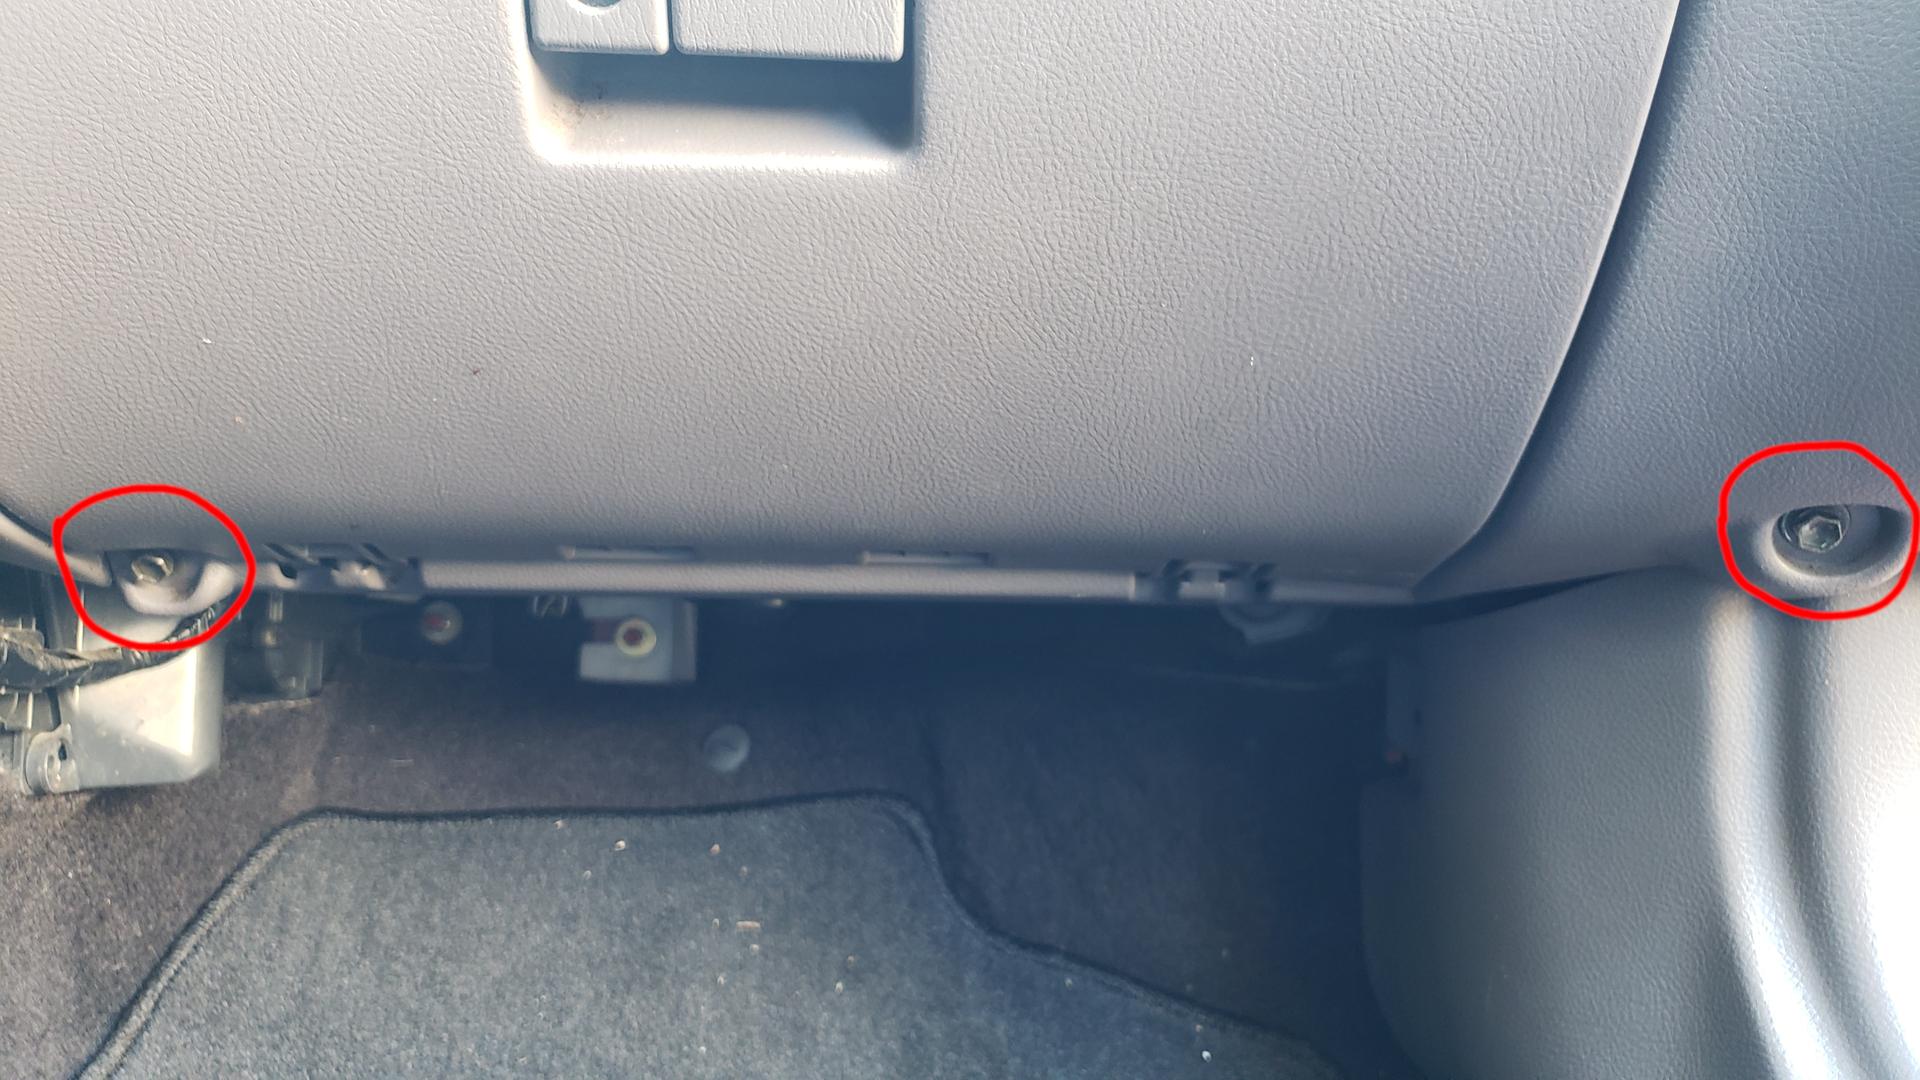 Step 2: Remove the old light assemblyOnce the glove box is loose, remove the light assembly. It is located on the top rear of the glove box. Make sure to squeeze the plastic clips (circled in red) and remove the wiring harness (circled in yellow) to safely remove it.  Step 3: Modify light assemblyFirst, we need to open the light assembly. There are plastic clips holding it together, so it may be easier to use some tweezers, a screwdriver, or other thin object to safely separate the two halves without breaking anything.
In my case, I needed to modify my LED light kit to fit into this module. Here is a picture of the style of lights I was working with. 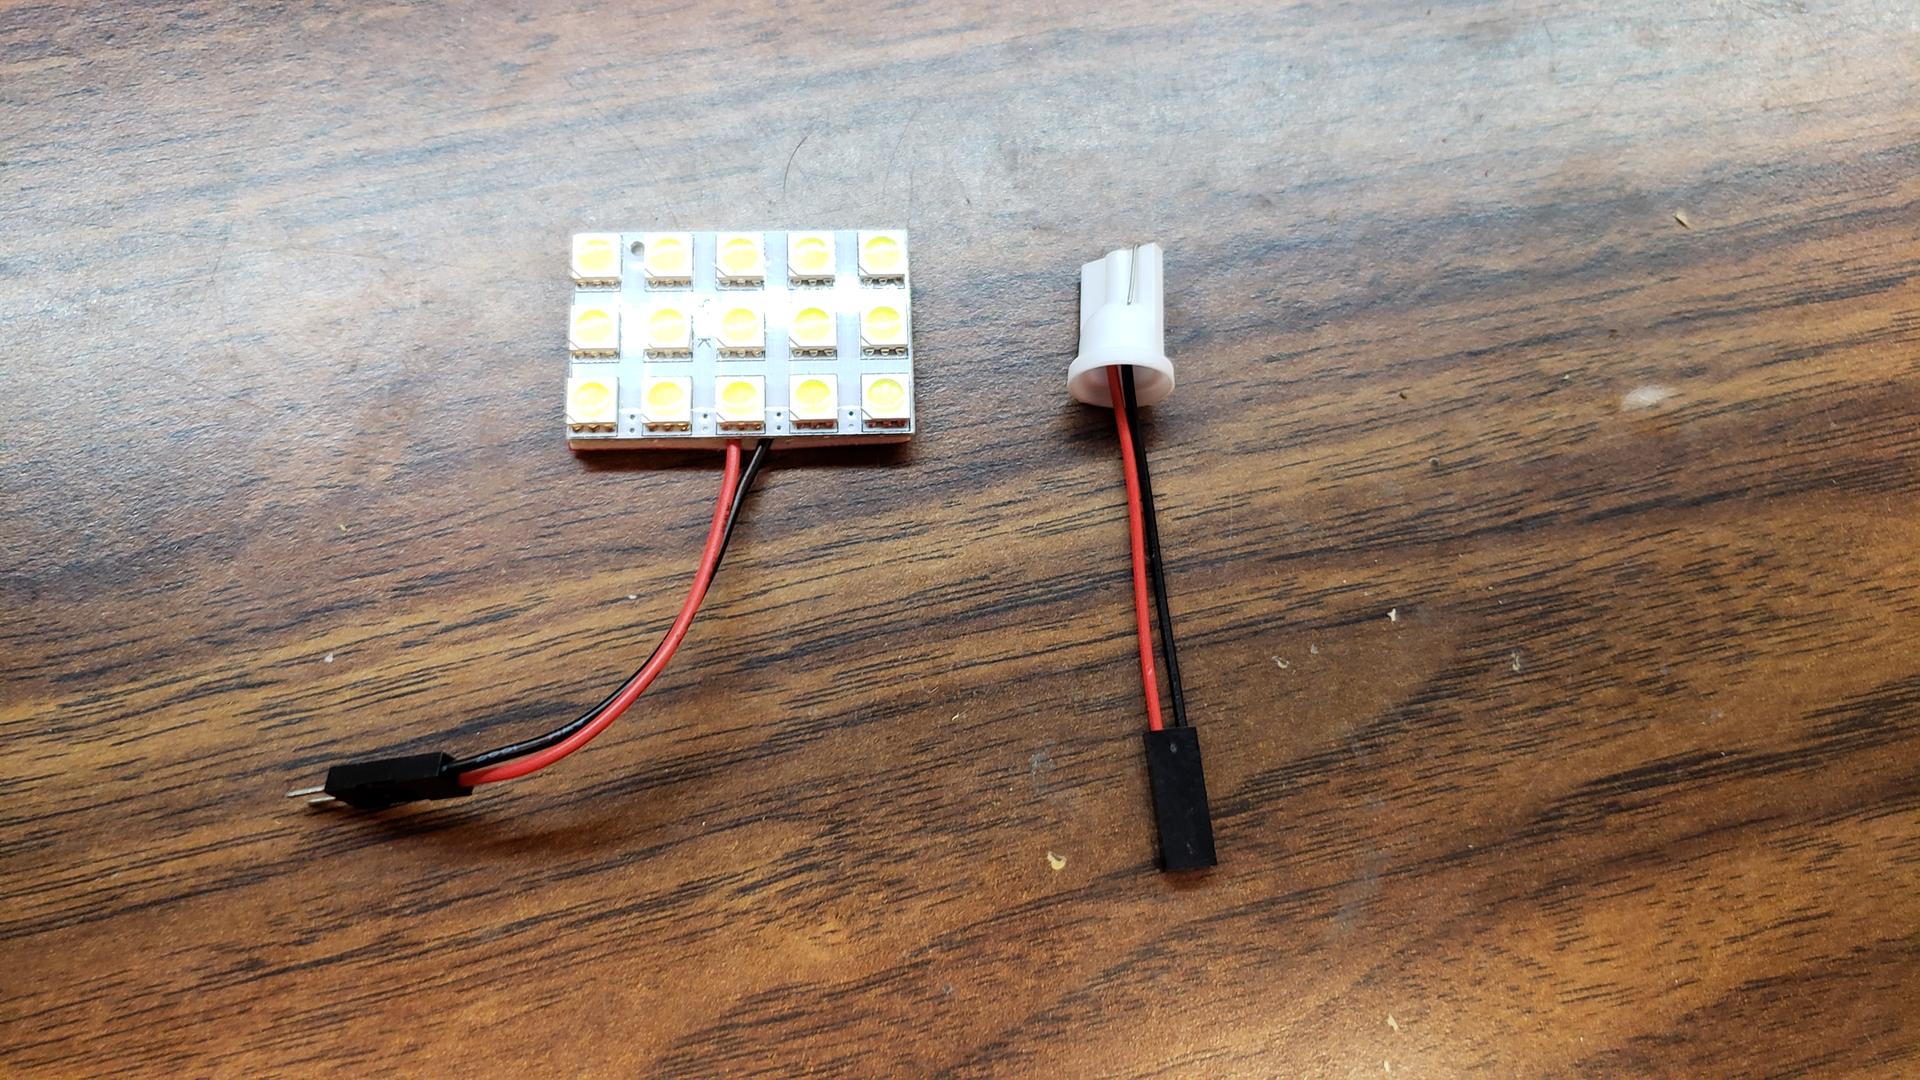 I removed the white plastic harness that was intended to be plugged into a wiring harness, exposing the bare wires. I then curled the ends of the wires to add thickness. This is because they will be wedged into the metal contacts on the light assembly to be held in place.
The modified wires then can be inserted into the contacts on the opened light assembly, making sure to make good contact with the metal. With the spring on the left side of the module, 12V is on the right and ground is on the left. In the pictures below, the red wire is 12V and black is ground.
Once the wires are inserted, the cover of the assembly can be reinstalled.
Step 4: Reinstall light assemblyBefore inserting the light assembly back into the glove box, I recommend testing everything out. Connect the LED light to the new connector, power the glove box light module, and turn the lights on. The light should come on. 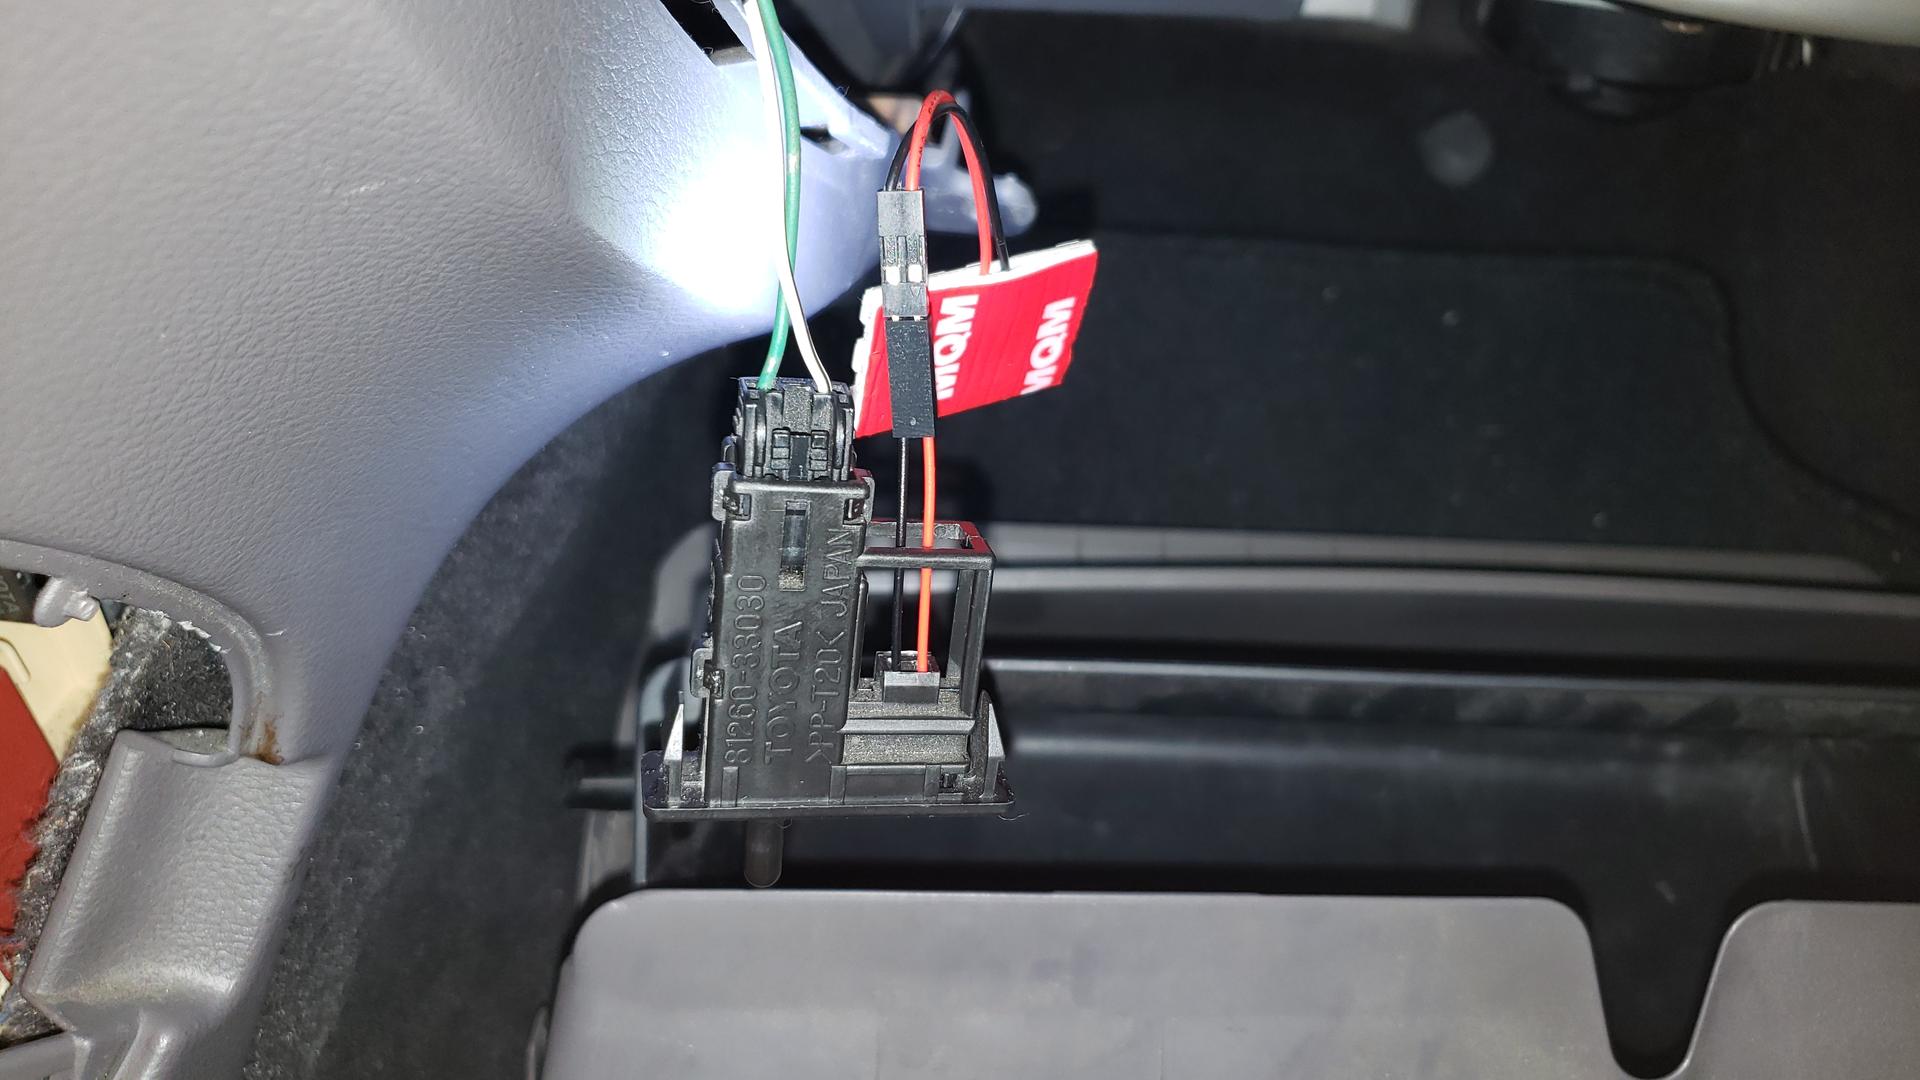 Once the module is tested working, mount your LED lights (if necessary). I used an LED panel, so I attached it to the existing light hole with some tape. Then, reinstall the light assembly.
The last step is to reinstall the glove box to the car. If all went correctly, the glove box light should be noticably brighter, which I find especially useful at night. 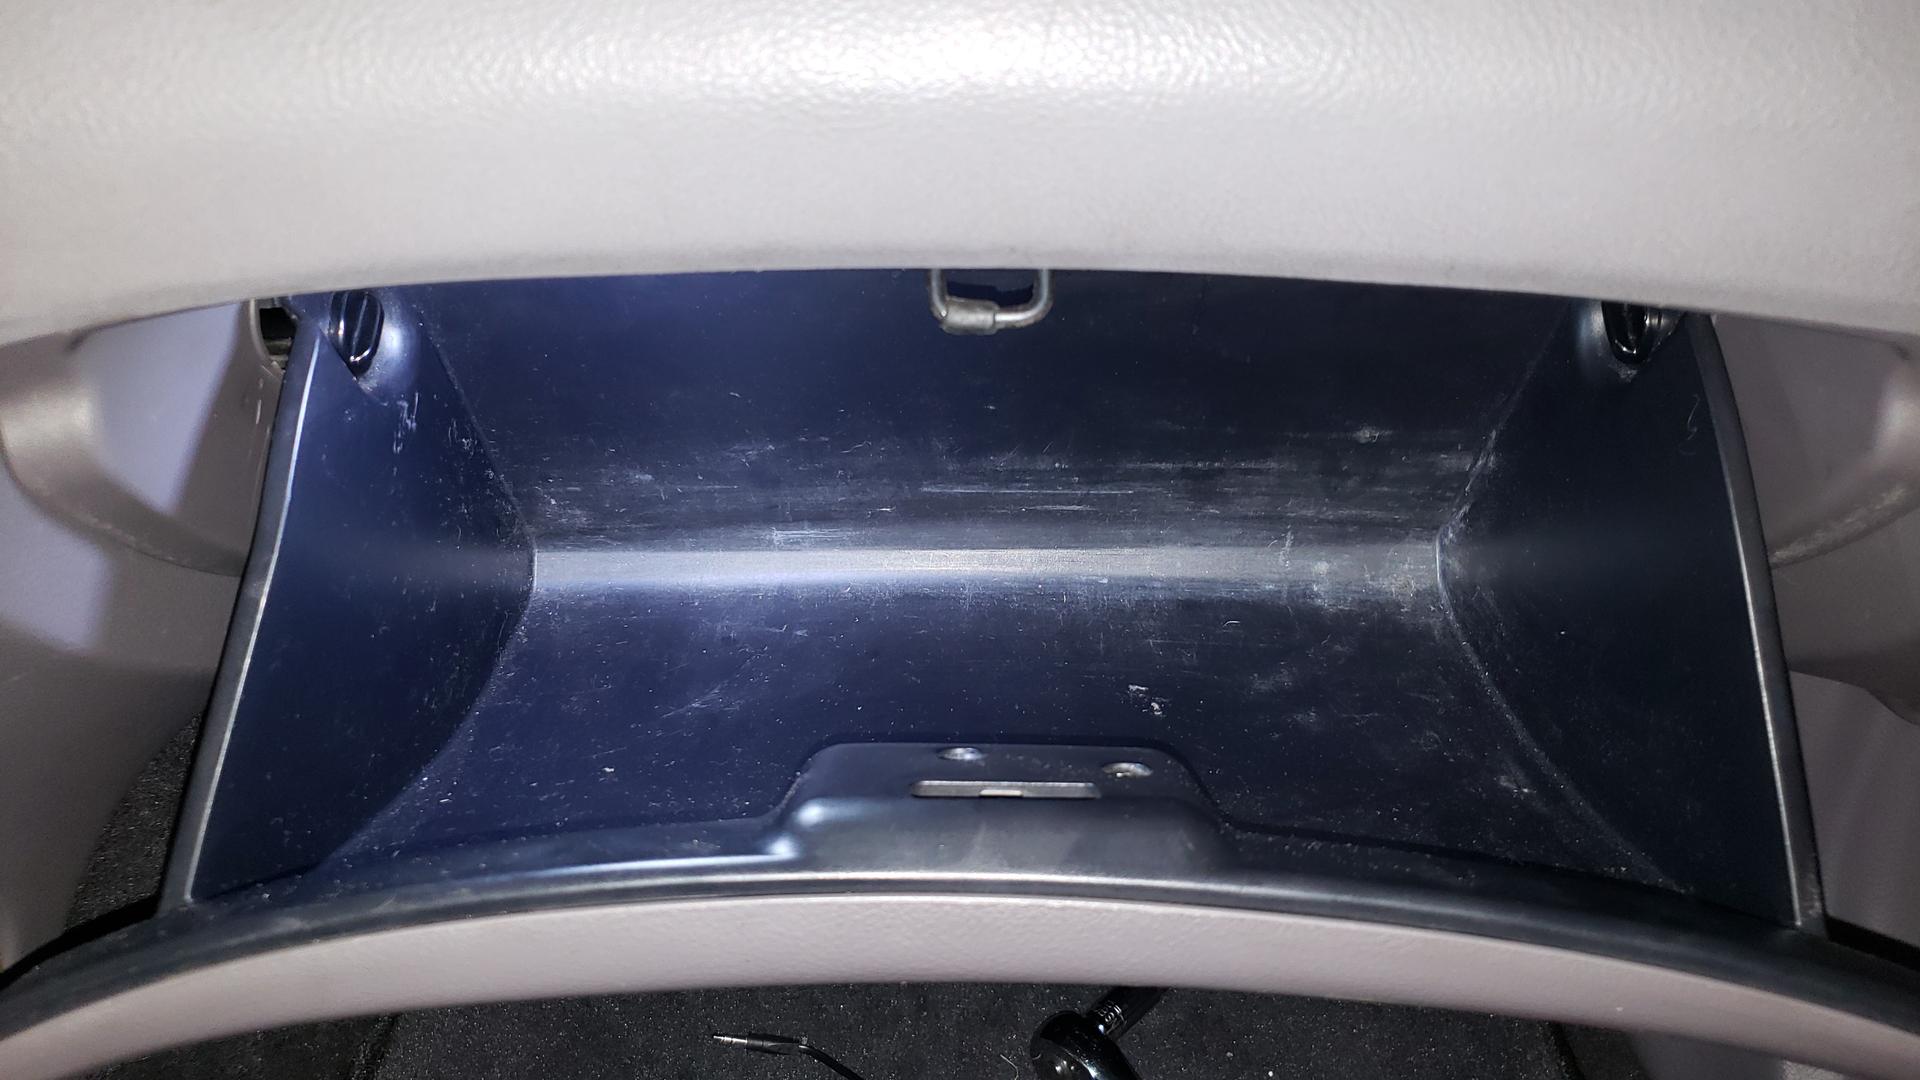 |