|
|
Ben's UniverseElectronics, programming, and more |
|
| Home | Electronics | Software | Automotive | Miscellaneous |
|
|
|
Ben's UniverseElectronics, programming, and more |
|
| Home | Electronics | Software | Automotive | Miscellaneous |
|
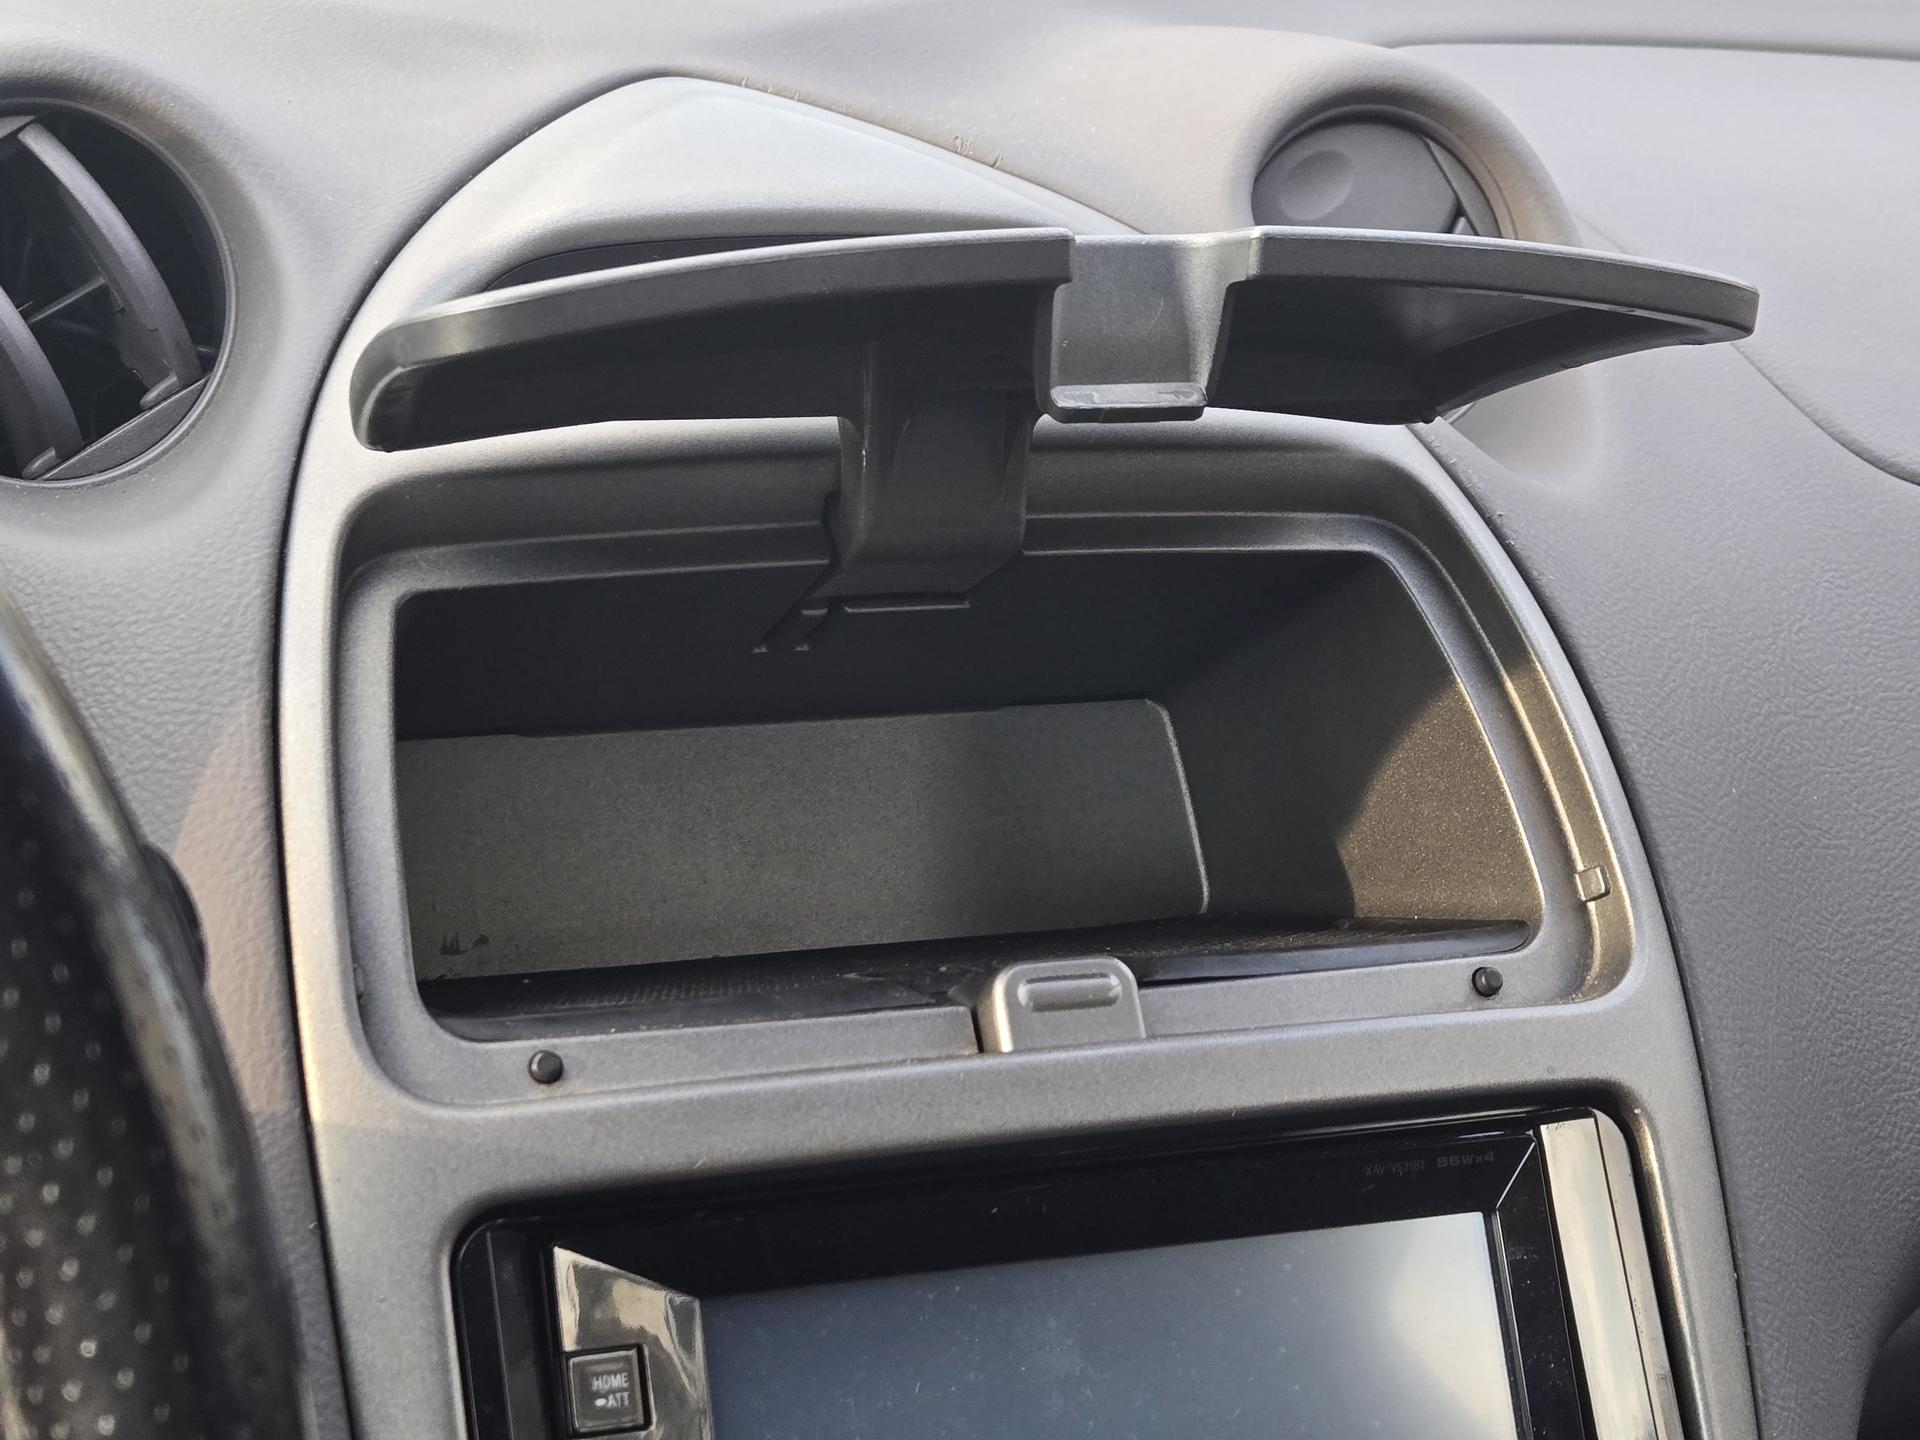
Center Console Compartment Button Fix for Toyota CelicaAutomotive July 22, 2024 by BenThe button to open the center console compartment also keeps the lid shut when closed. Over time, my button stopped holding the lid closed due to a broken spring behind the button. This post is a guide showing how to replace this spring with a 3D-printed replacement. ContentsPartsThe only tool needed to replace the spring is a phillips screwdriver. To create the spring, you can 3D print a makeshift spring (file provided) or make something similar out of scrap material. Step 1: Remove the shift knob trim pieceTo remove the shift knob trim, I find that lifting from under the rear of the trim piece (between the trim piece and the shift boot) is the easiest way to release the clips holding it in. 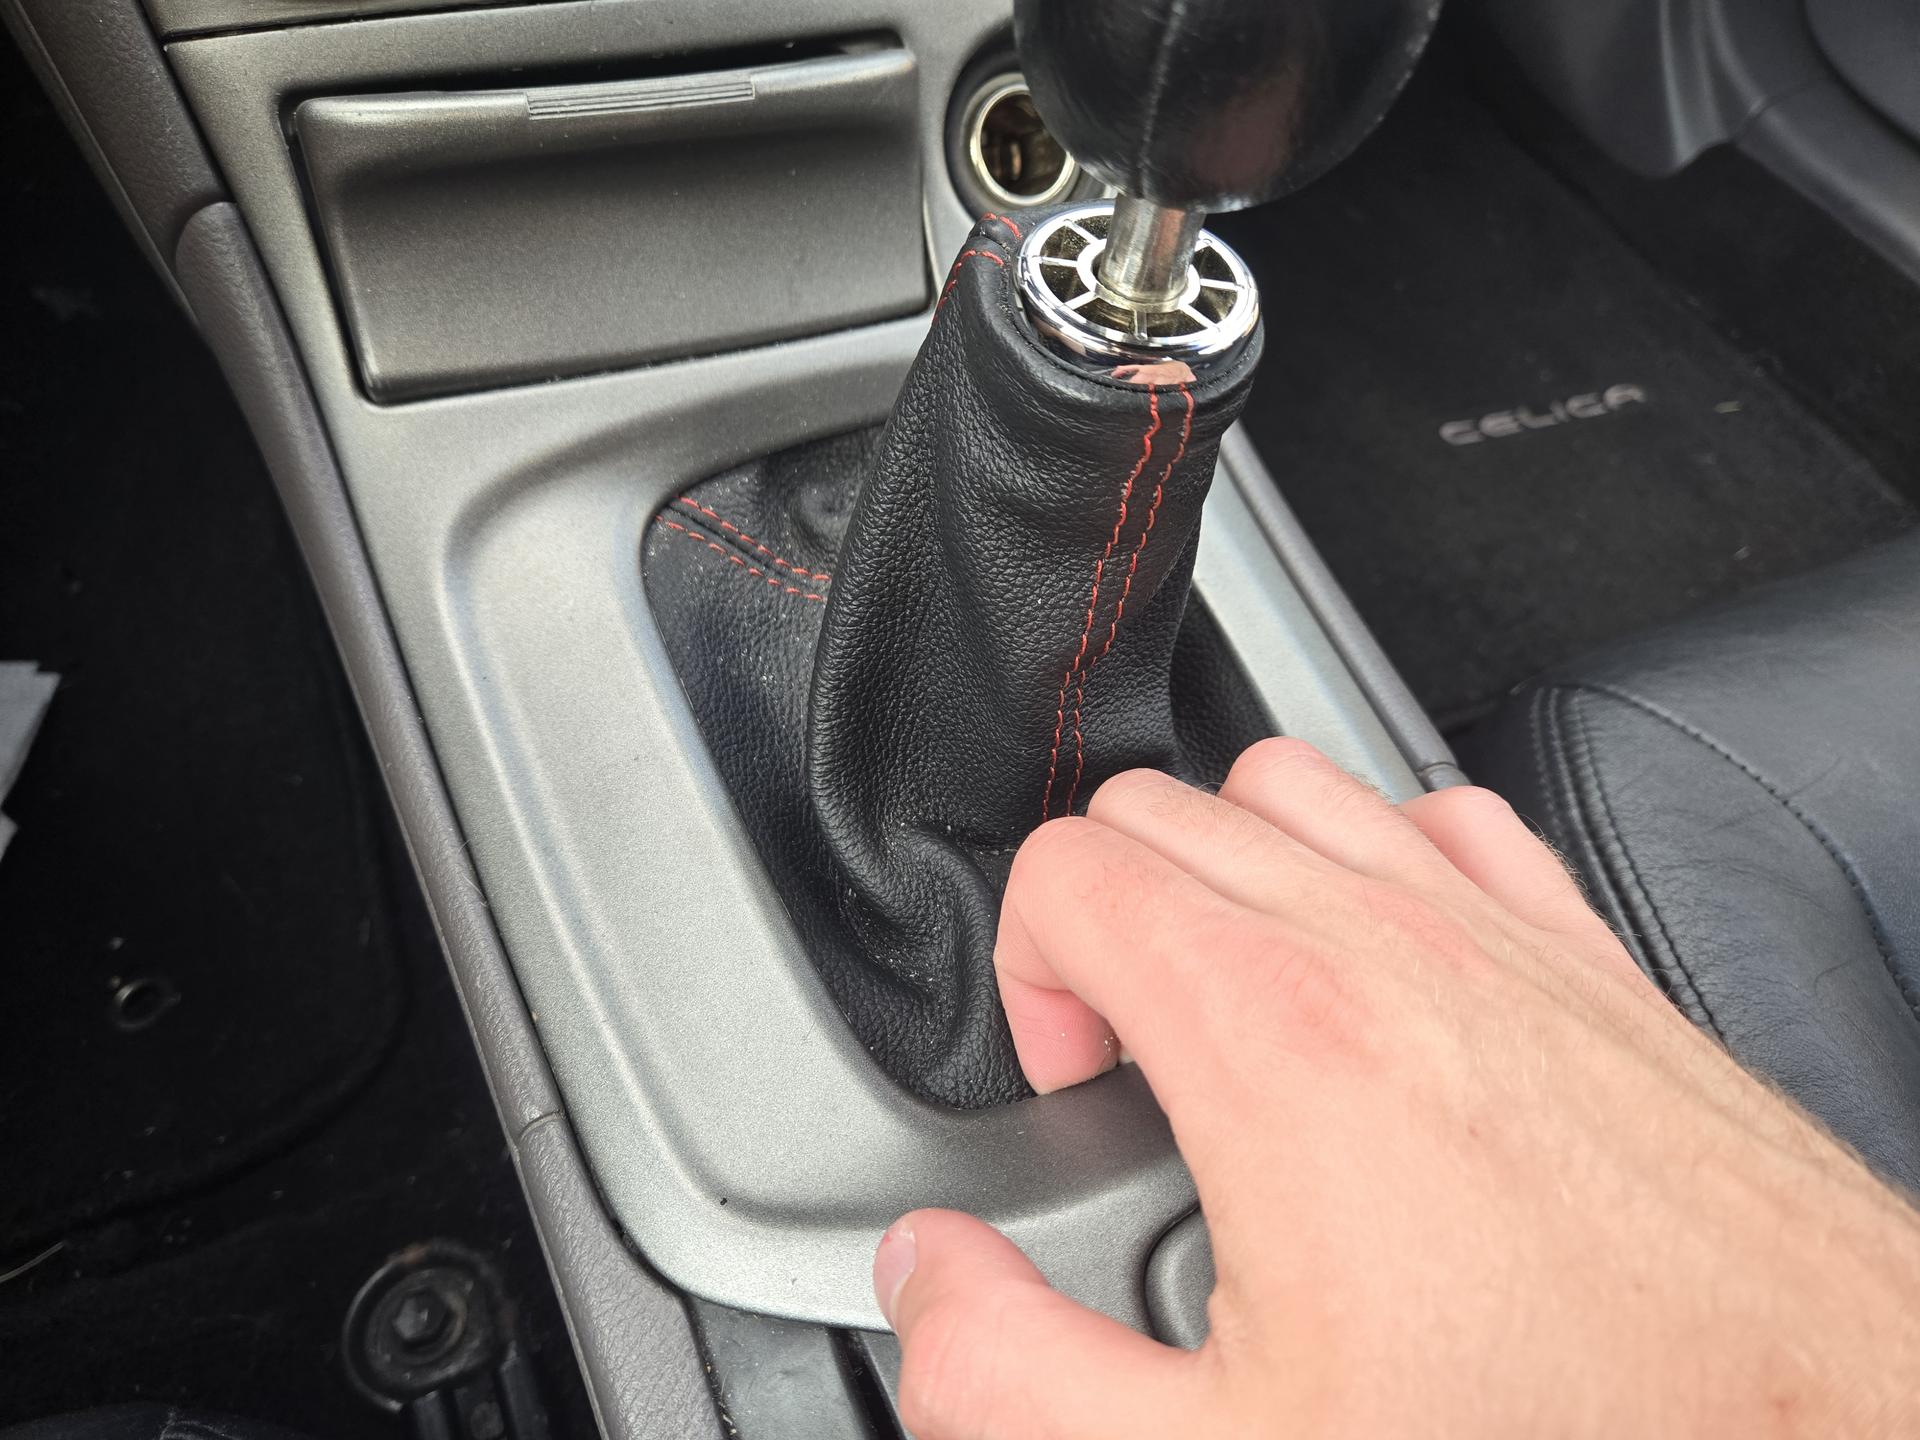 Once it starts coming loose, the front can be pushed down and the piece can come up. See the below image to mind the plastic clips at the top of the trim piece and avoid breaking them. 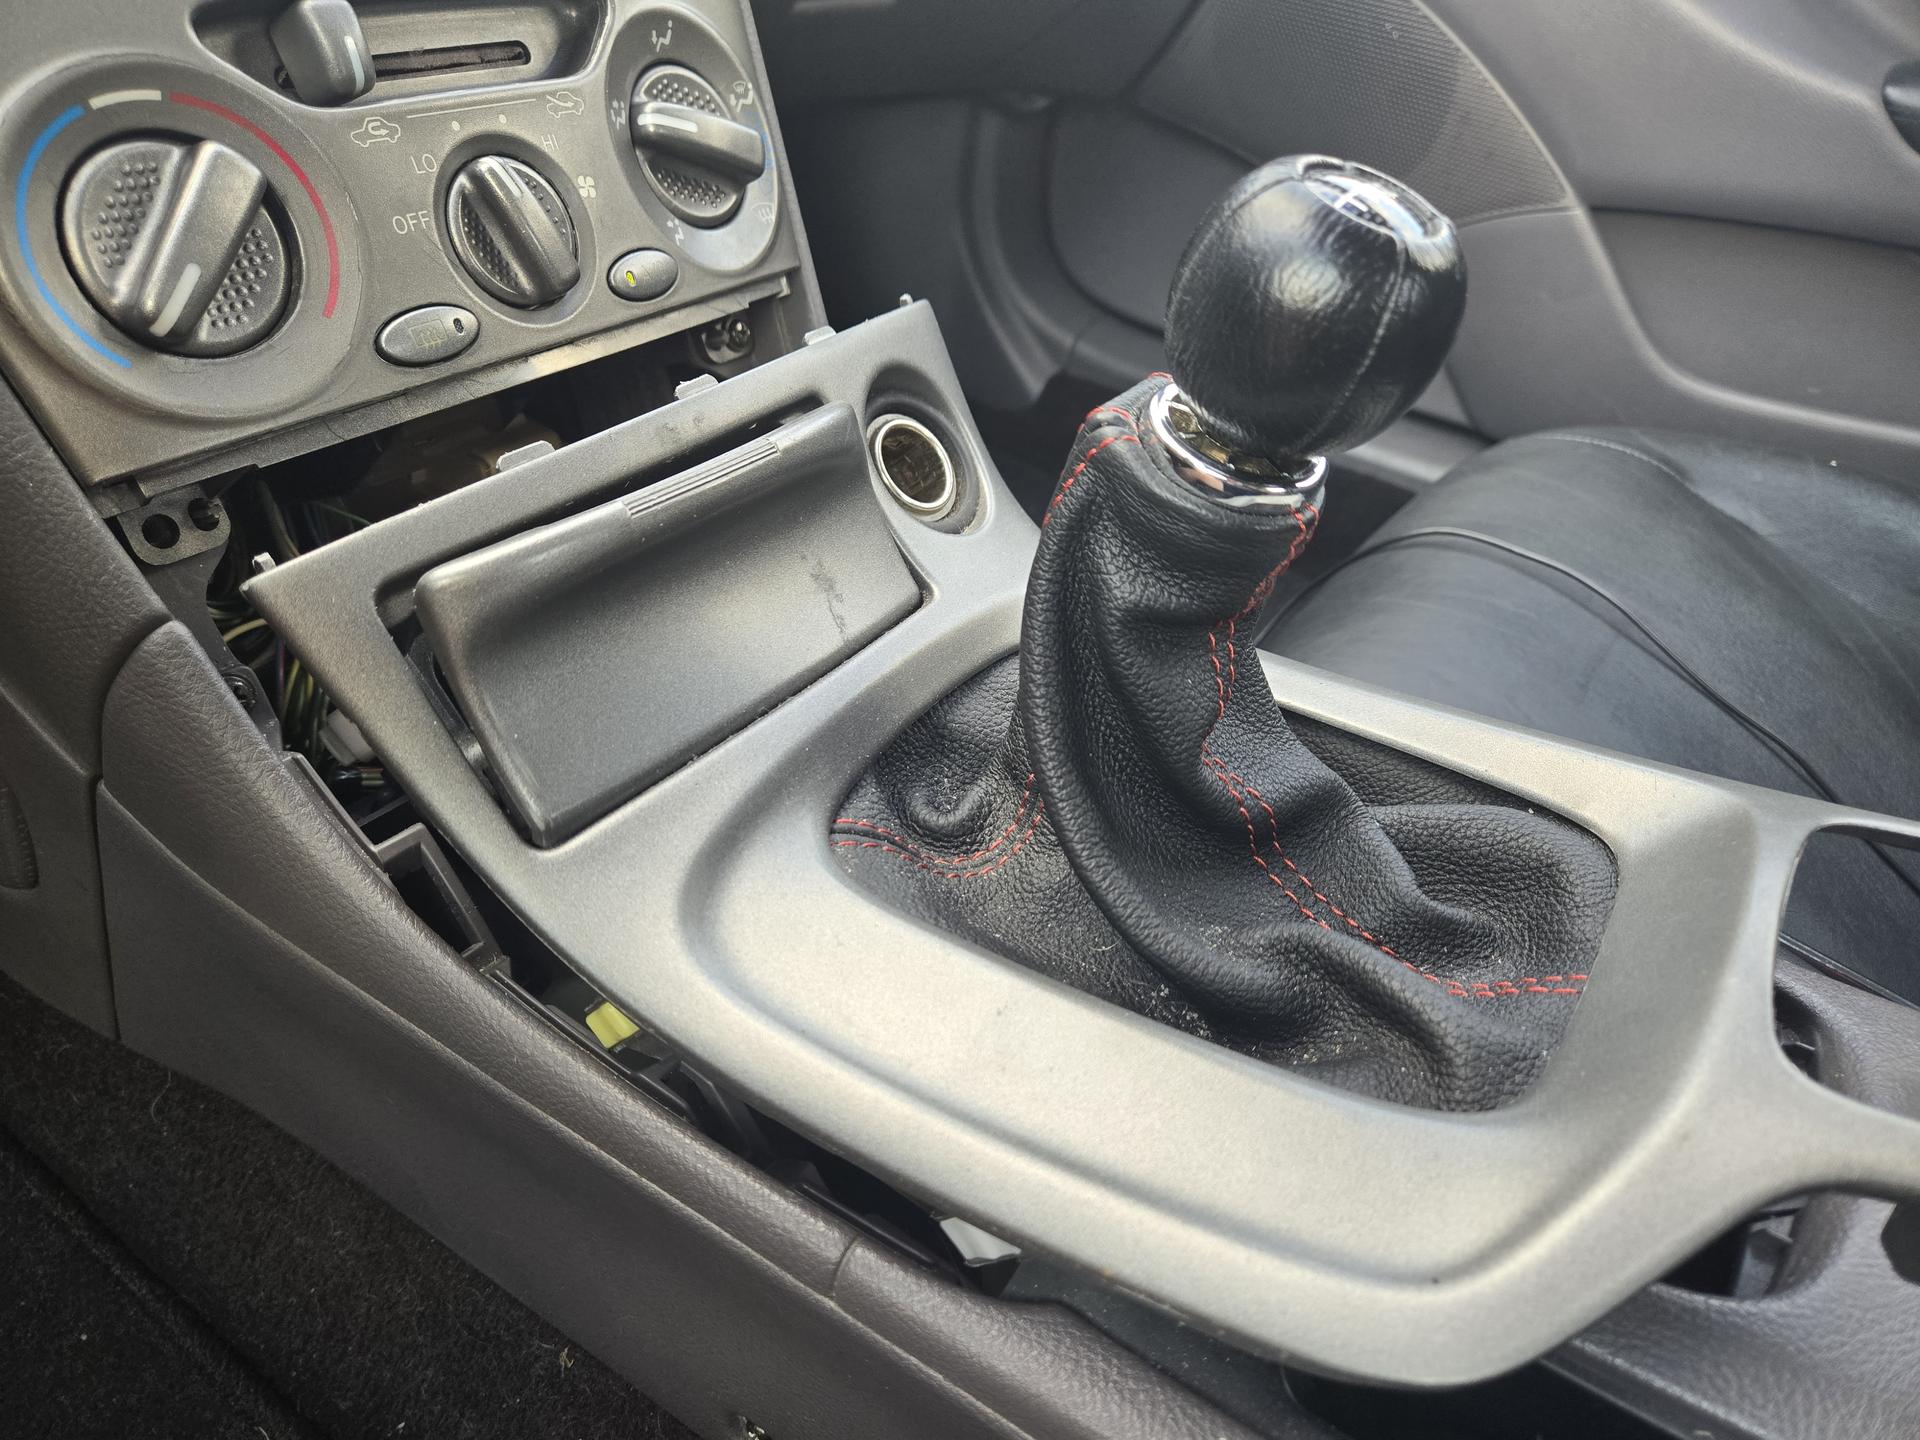 Step 2: Remove the center console trim screwsNext, we need to remove the 4 screws holding the AC control trim piece to the car. Remove the 3 AC control knobs and recirculation control knob by pulling them toward the cabin.
After the knobs are removed, the 4 screws are visible. My Celica only has 2 screws installed, but I've circled the location of all 4.  Step 3: Remove center consoleUse the same approach as the shift knob trim to remove the center console. Lift from the bottom and gently pull toward the cabin to release the clips holding it in place. Be careful not to remove it too quickly, as there is a connector attached to the clock near the top of the piece. 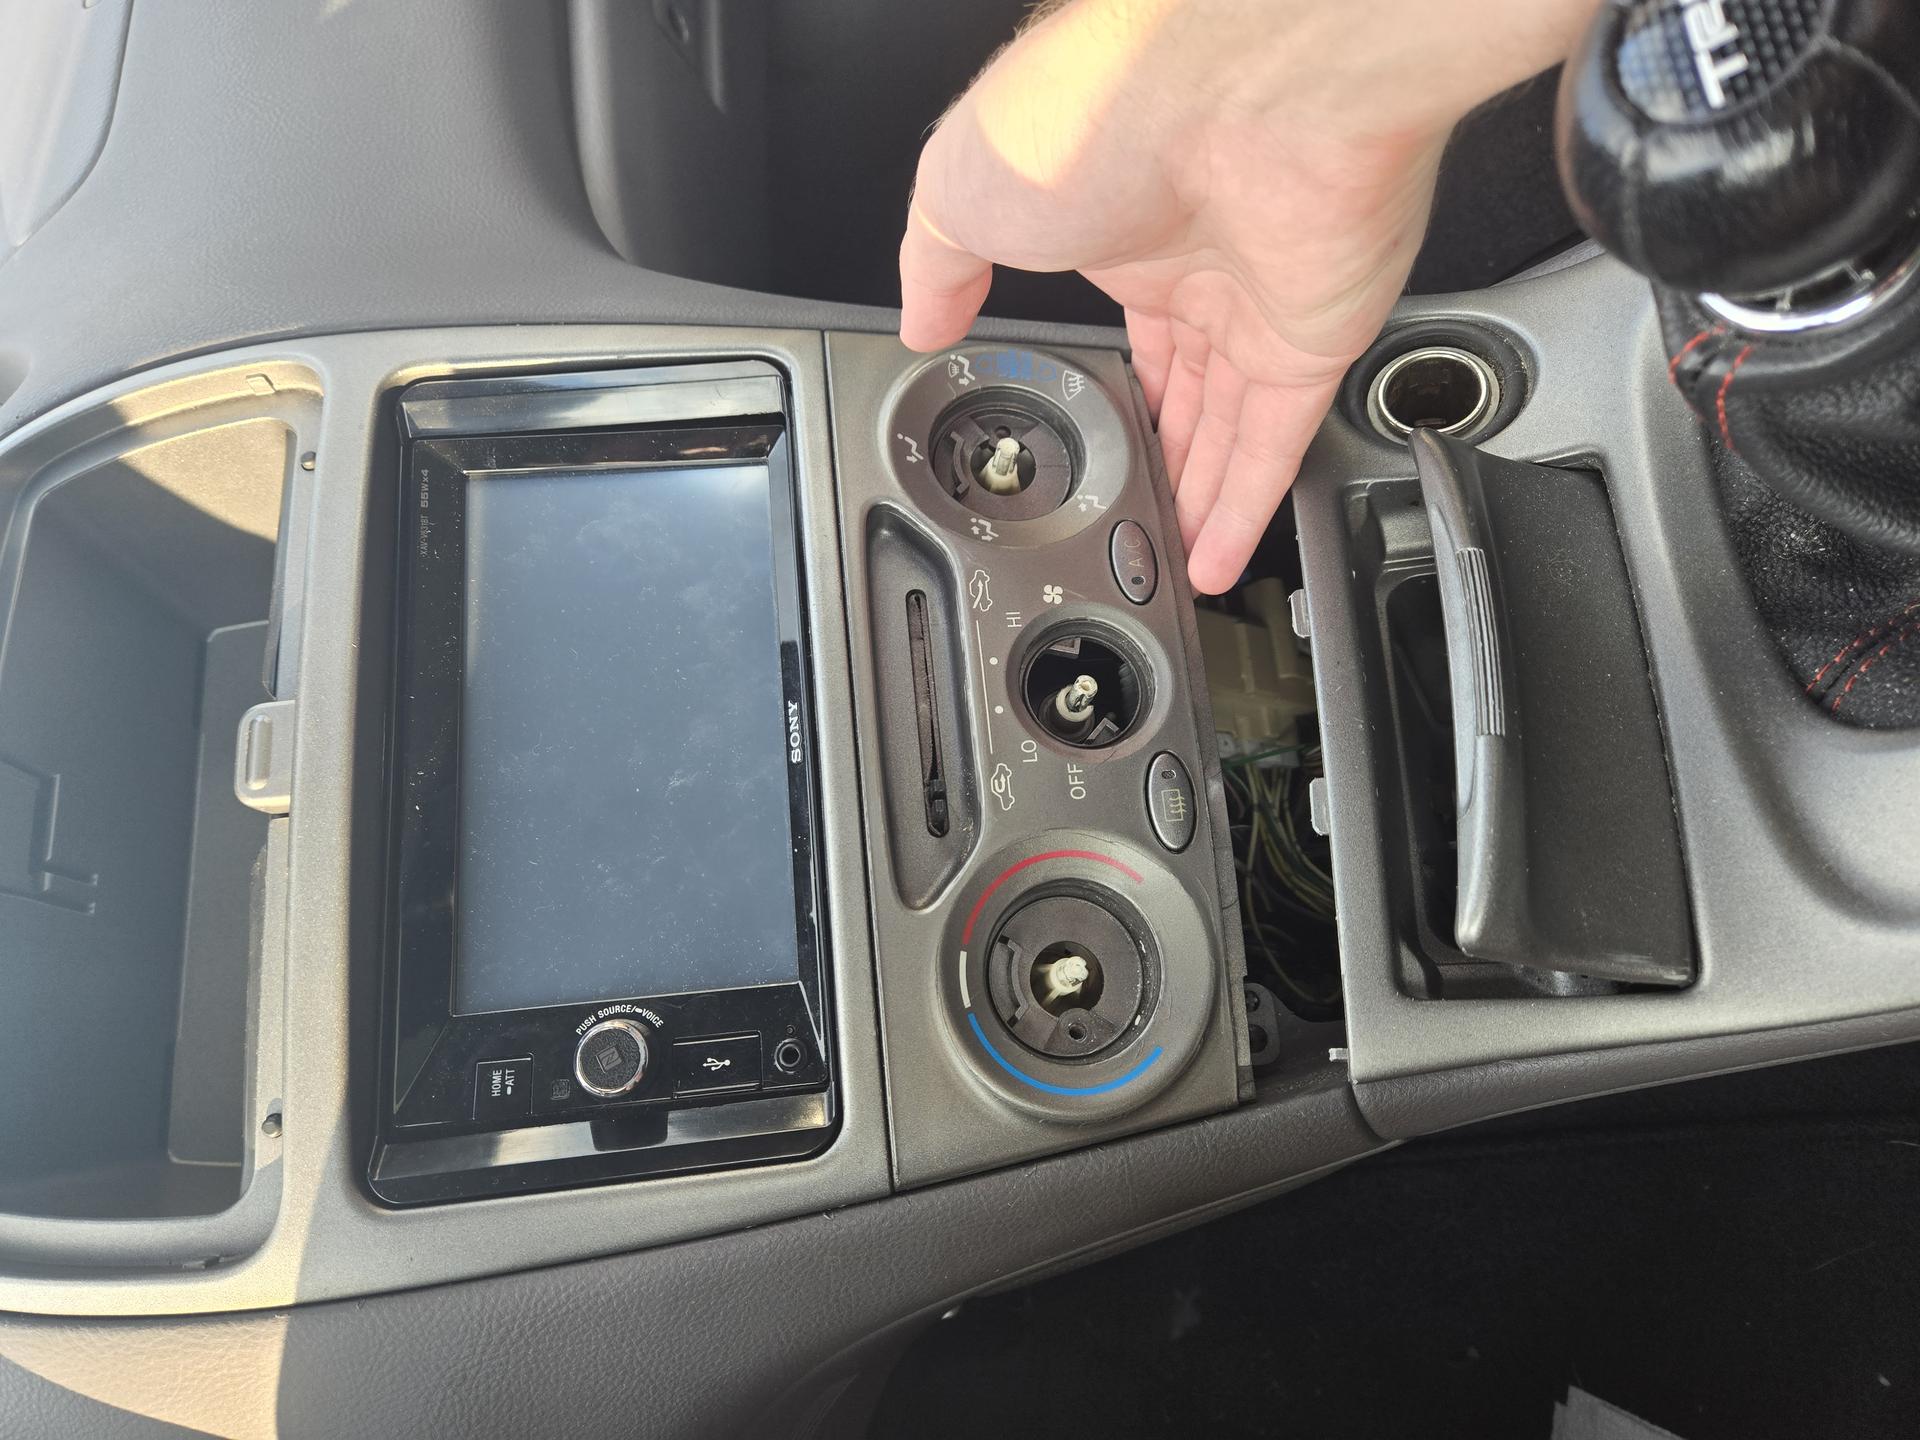 Here's the connector you need to remove at the top of the center console once all the clips are removed. 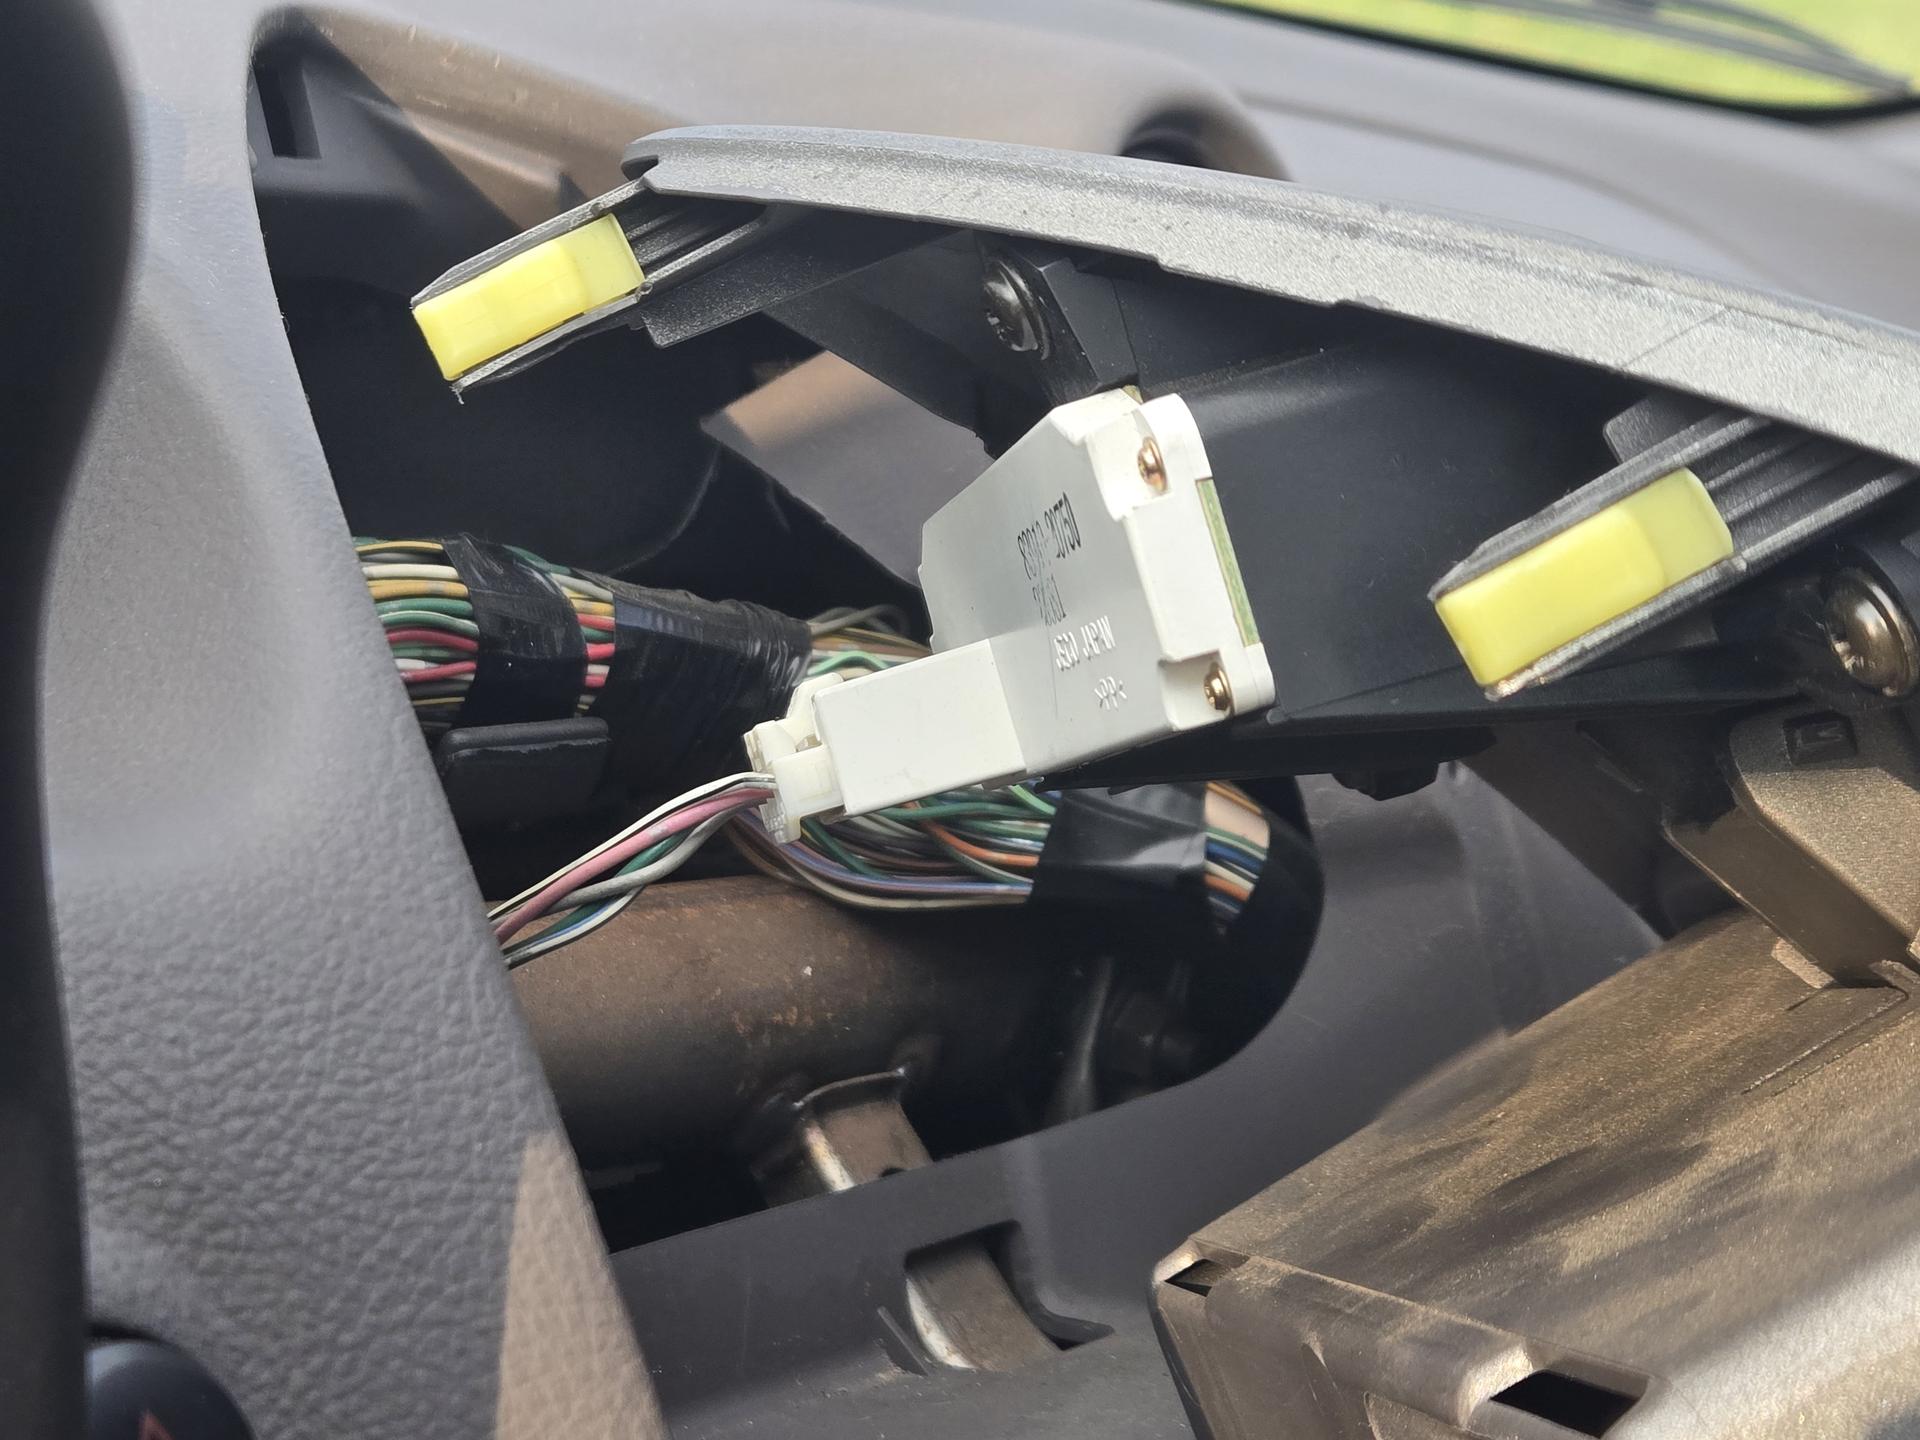 Step 4: Replace button springOnce the center console is removed, we can begin to replace the broken spring. First, behind the button, you'll find the spring (or lack of spring) in question. Below are some images of my broken spring.
Removing the one screw will allow you to remove the bottom from the center console. Now, we can prepare the replacement spring. Here is a link to the 3D printer files. As you can see in the image below, we need to bend the printed part slightly to recrease the spring. I did this by holding the piece with some pliers and heating it with a hair dryer or hot air gun. While hot, gently bend the part and remove heat. As it cools, it will remain in the bent shape. We are then ready to install the new spring. 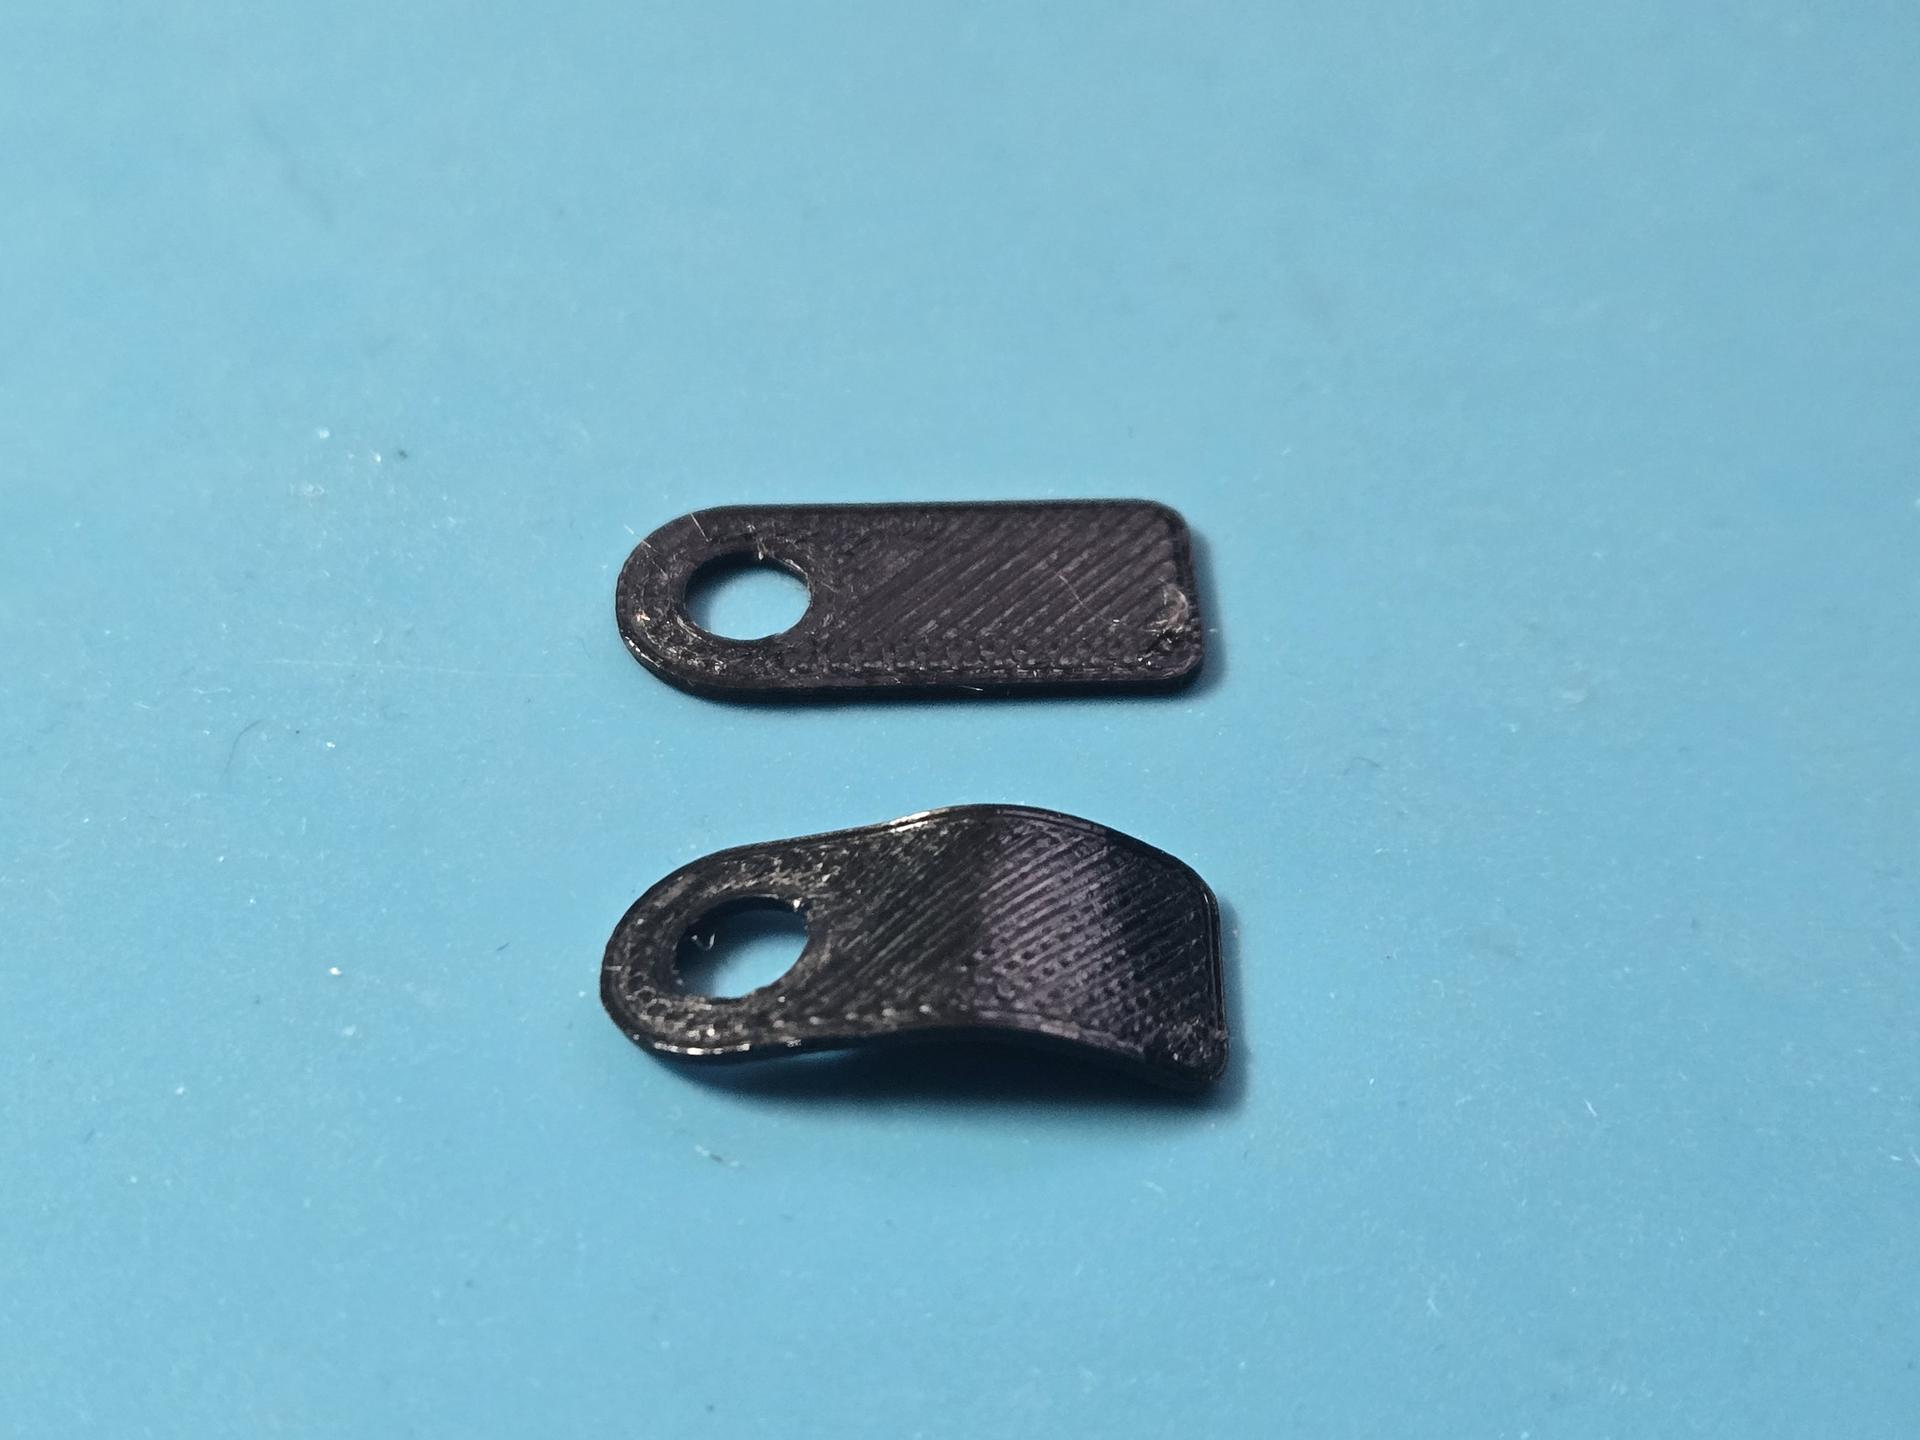 Install the new spring where on top of the remaining metal piece on the button. The curved part should curve into the button. See the images below.
Once the spring is installed, you can test to make sure the compartment works as intended before installing. Installation of the center console is the reverse of removal. 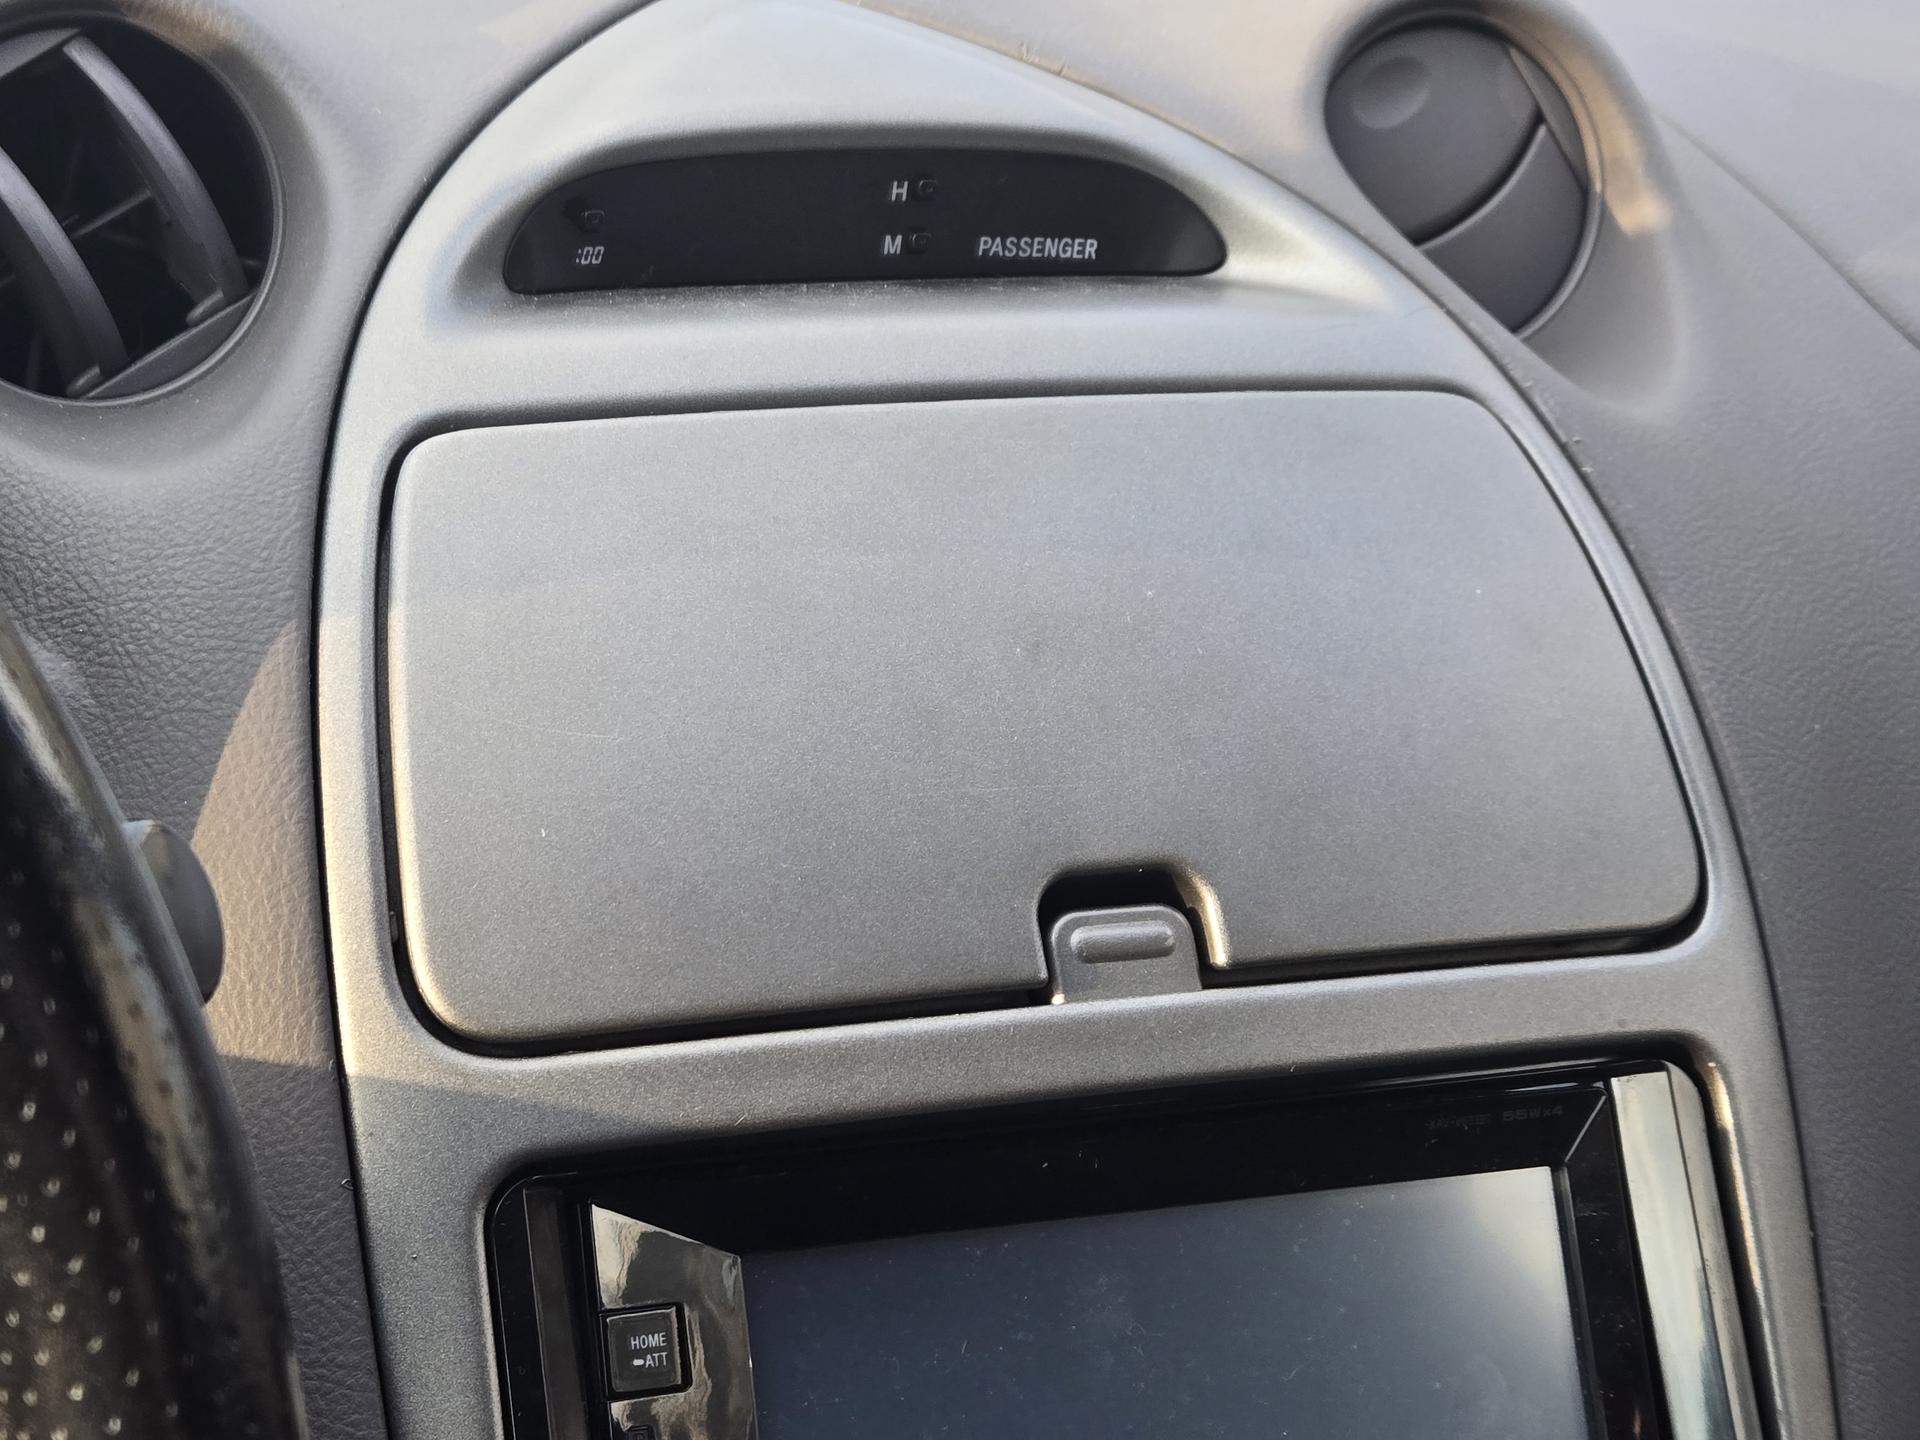 |