|
|
Ben's UniverseElectronics, programming, and more |
|
| Home | Electronics | Software | Automotive | Miscellaneous |
|
|
|
Ben's UniverseElectronics, programming, and more |
|
| Home | Electronics | Software | Automotive | Miscellaneous |
|
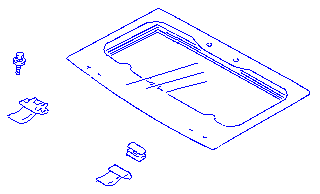
Sunroof Clip Replacement for Dodge Stealth/3000GTAutomotive March 14, 2021 by BenOver time, the clips that slot the sunroof into the frame of the car become rusted and need to be replaced before they break. This is a guide as to how I replaced both sunroof clips on a 1993 Dodge Stealth. ContentsParts~~The clips and all of the parts needed to mount them can be found at 3SX Performance.~~ 3SX NO LONGER SELLS THIS PARTS KIT. OEM PART NUMBERS THAT MAY BE NEEDED INCLUDE: MB641201, MB641202, MB641203, and MB641204. It is unlikely that you will need to replace the female slot that the clips slide into, but those are available as well. It may be possible to use non-OEM parts or find them at a lower price, but the following parts are needed: 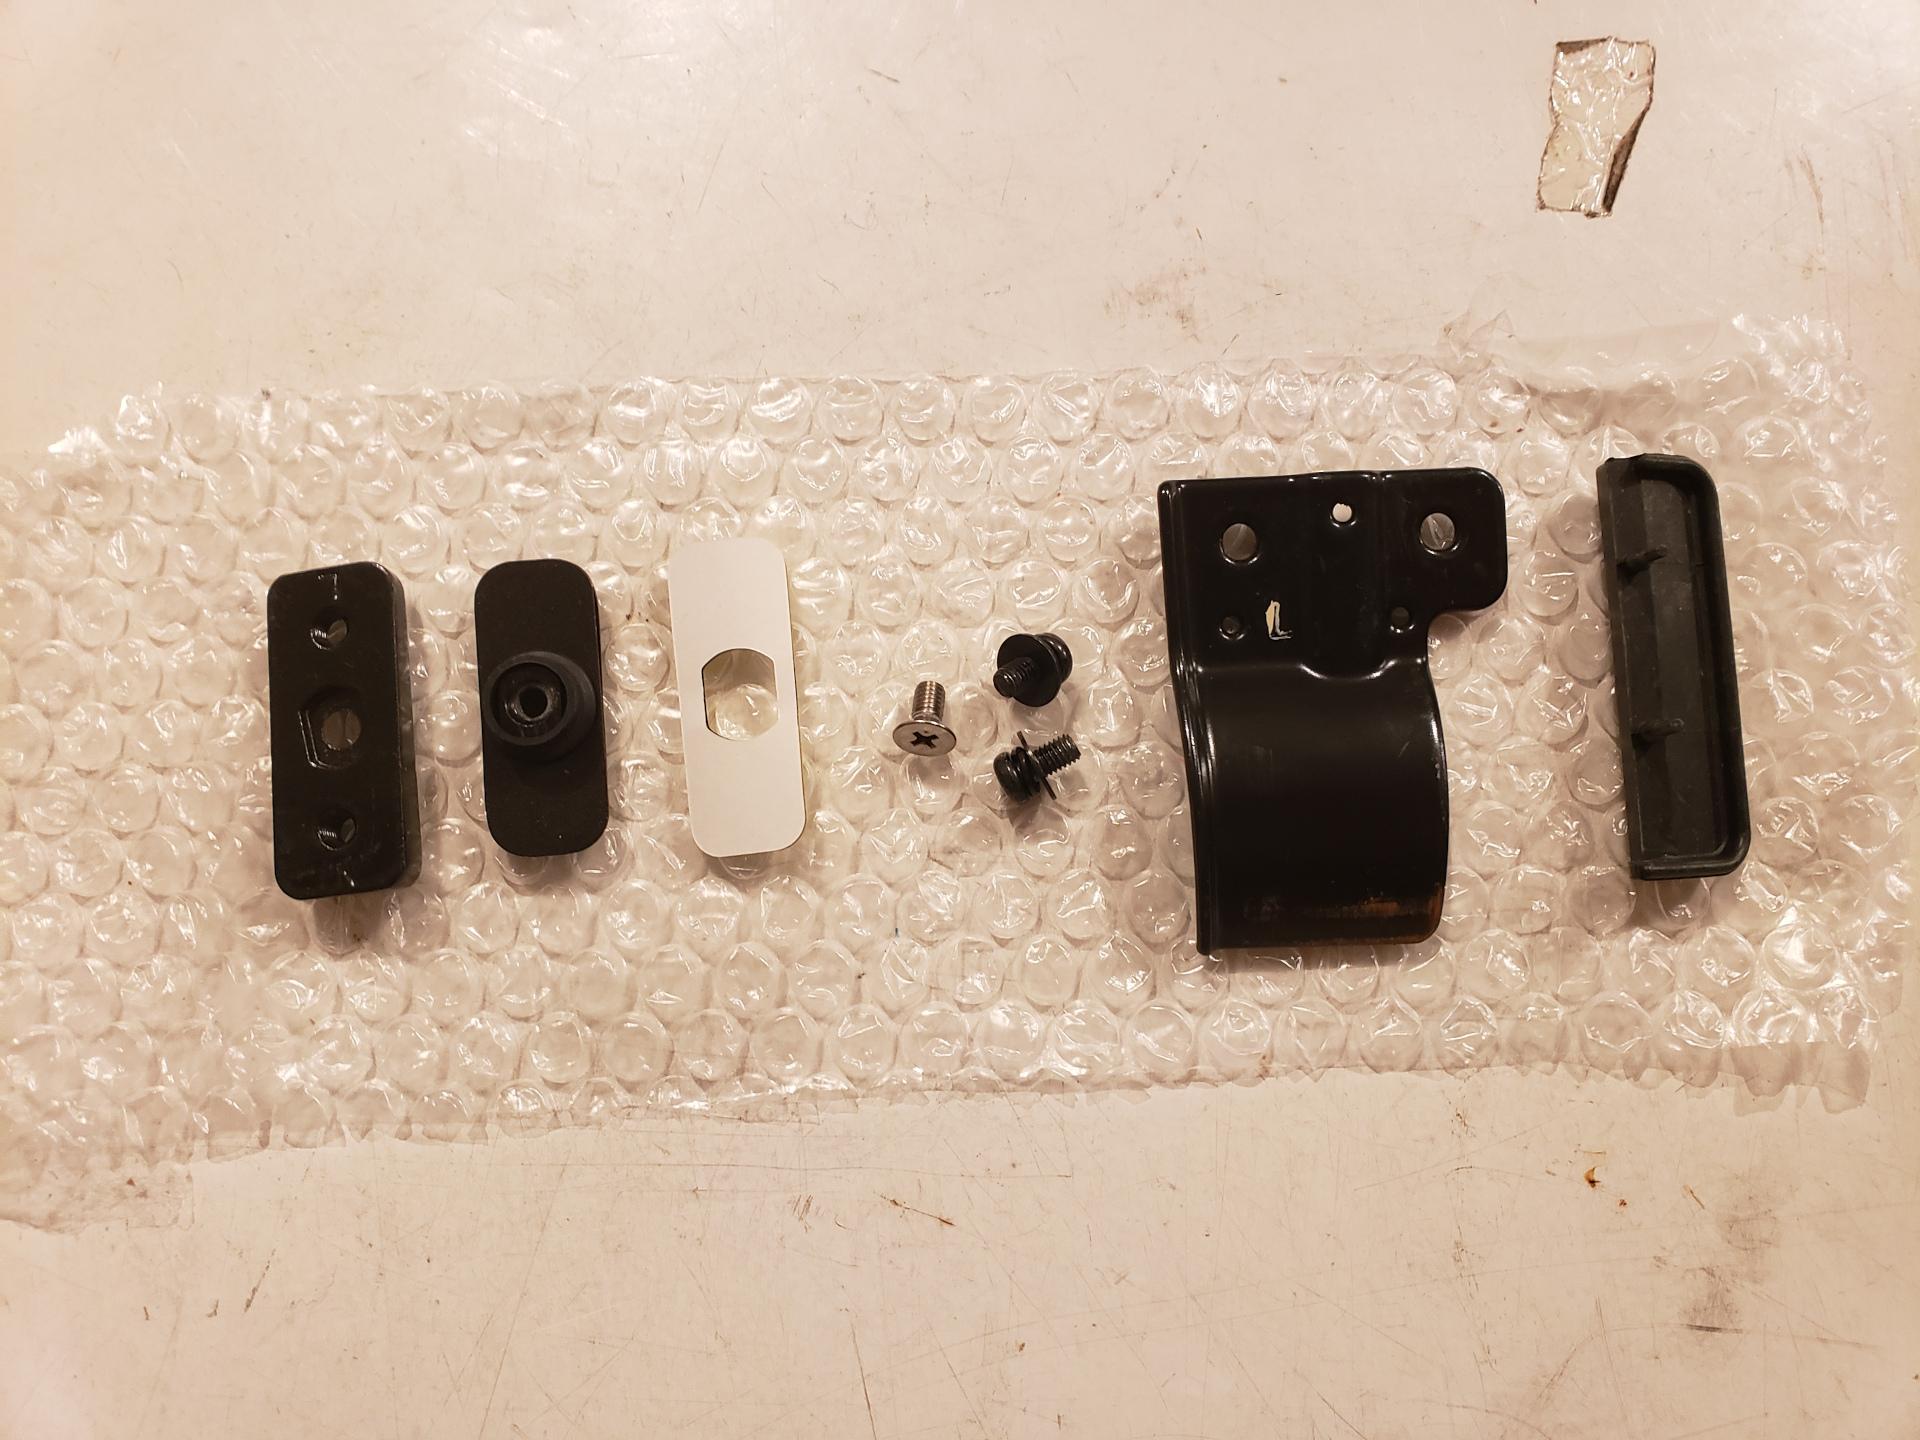 The kit should include a thick rectangular metal bracket with countersunk screw holes and a metal “shim” that is smooth on one side with a cylindrical extrusion on the other side with threads. These will clamp on each side of the sunroof glass. There is also a sticker that has a squared cylindrical hole in it. This is used for waterproofing as well as adhesion to the sunroof. There should be three screws in the kit, including one silver countersunk screw, and two black screws with washers. Finally, there is the large sunroof clip itself, and a rubber pad with two prongs attached. This is everything needed to replace one of the two clips on the sunroof. What are we looking at?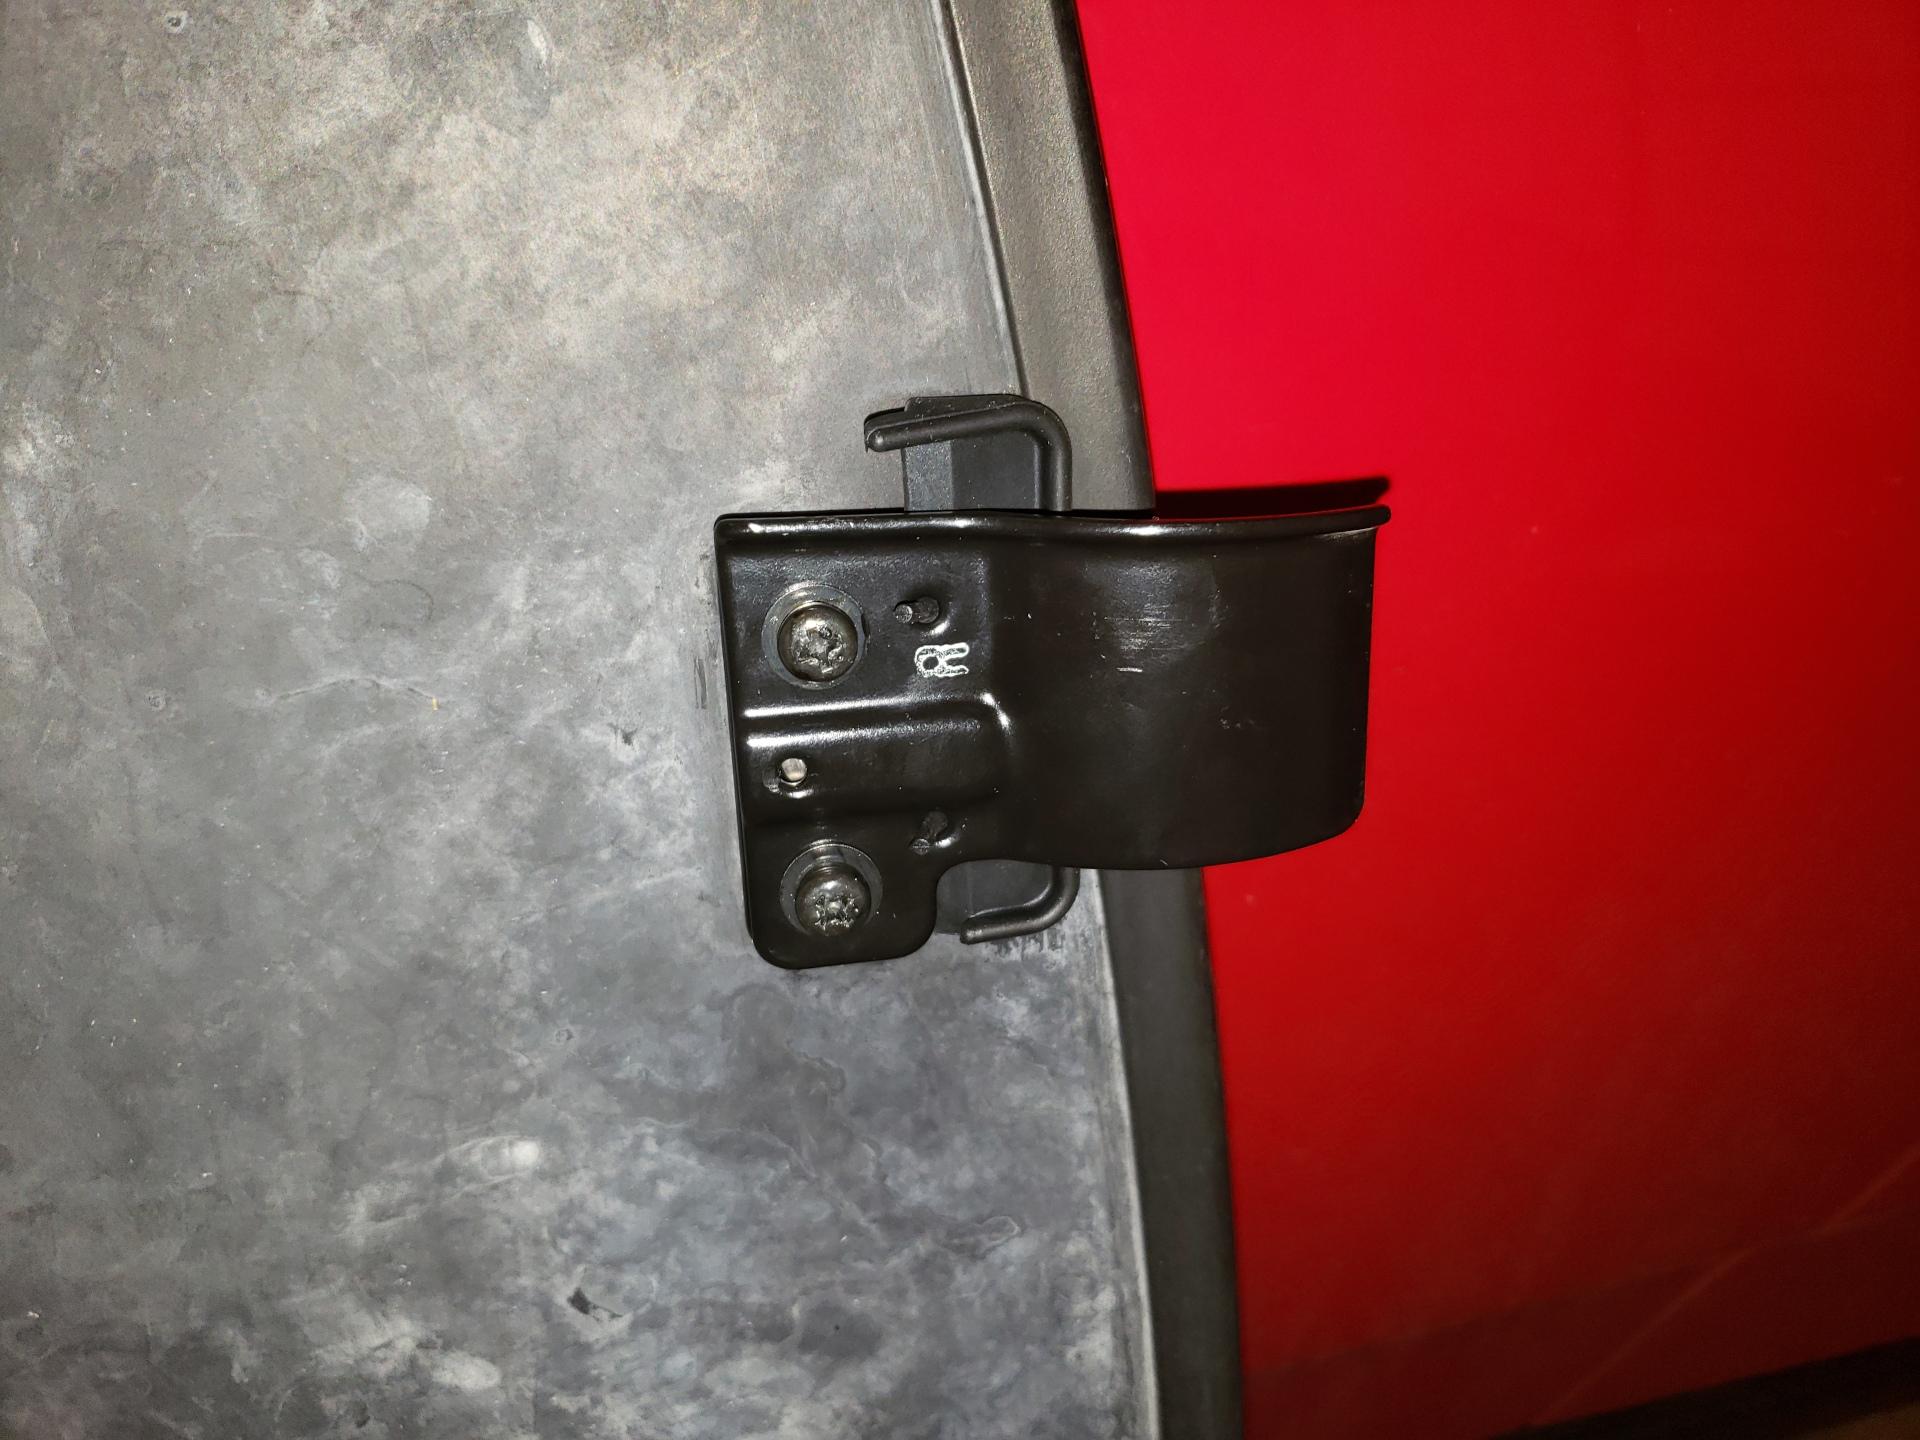 The sunroof clips are used when inserting and removing the sunroof. These two clips slide into their appropriate holes in the frame of the car, and the sunroof can then be lowered onto the car and clipped into place. Over time, these clips rust and can snap off, leading to a potentially dangerous situation. These are the steps I used to replace these clips. Step 1: Remove the old clipAs long as the two main screws holding the clip onto the sunroof are in decent shape, this step should be one of the easier ones. Simply unscrew the two large screws that are screwed directly into the sunroof clip. 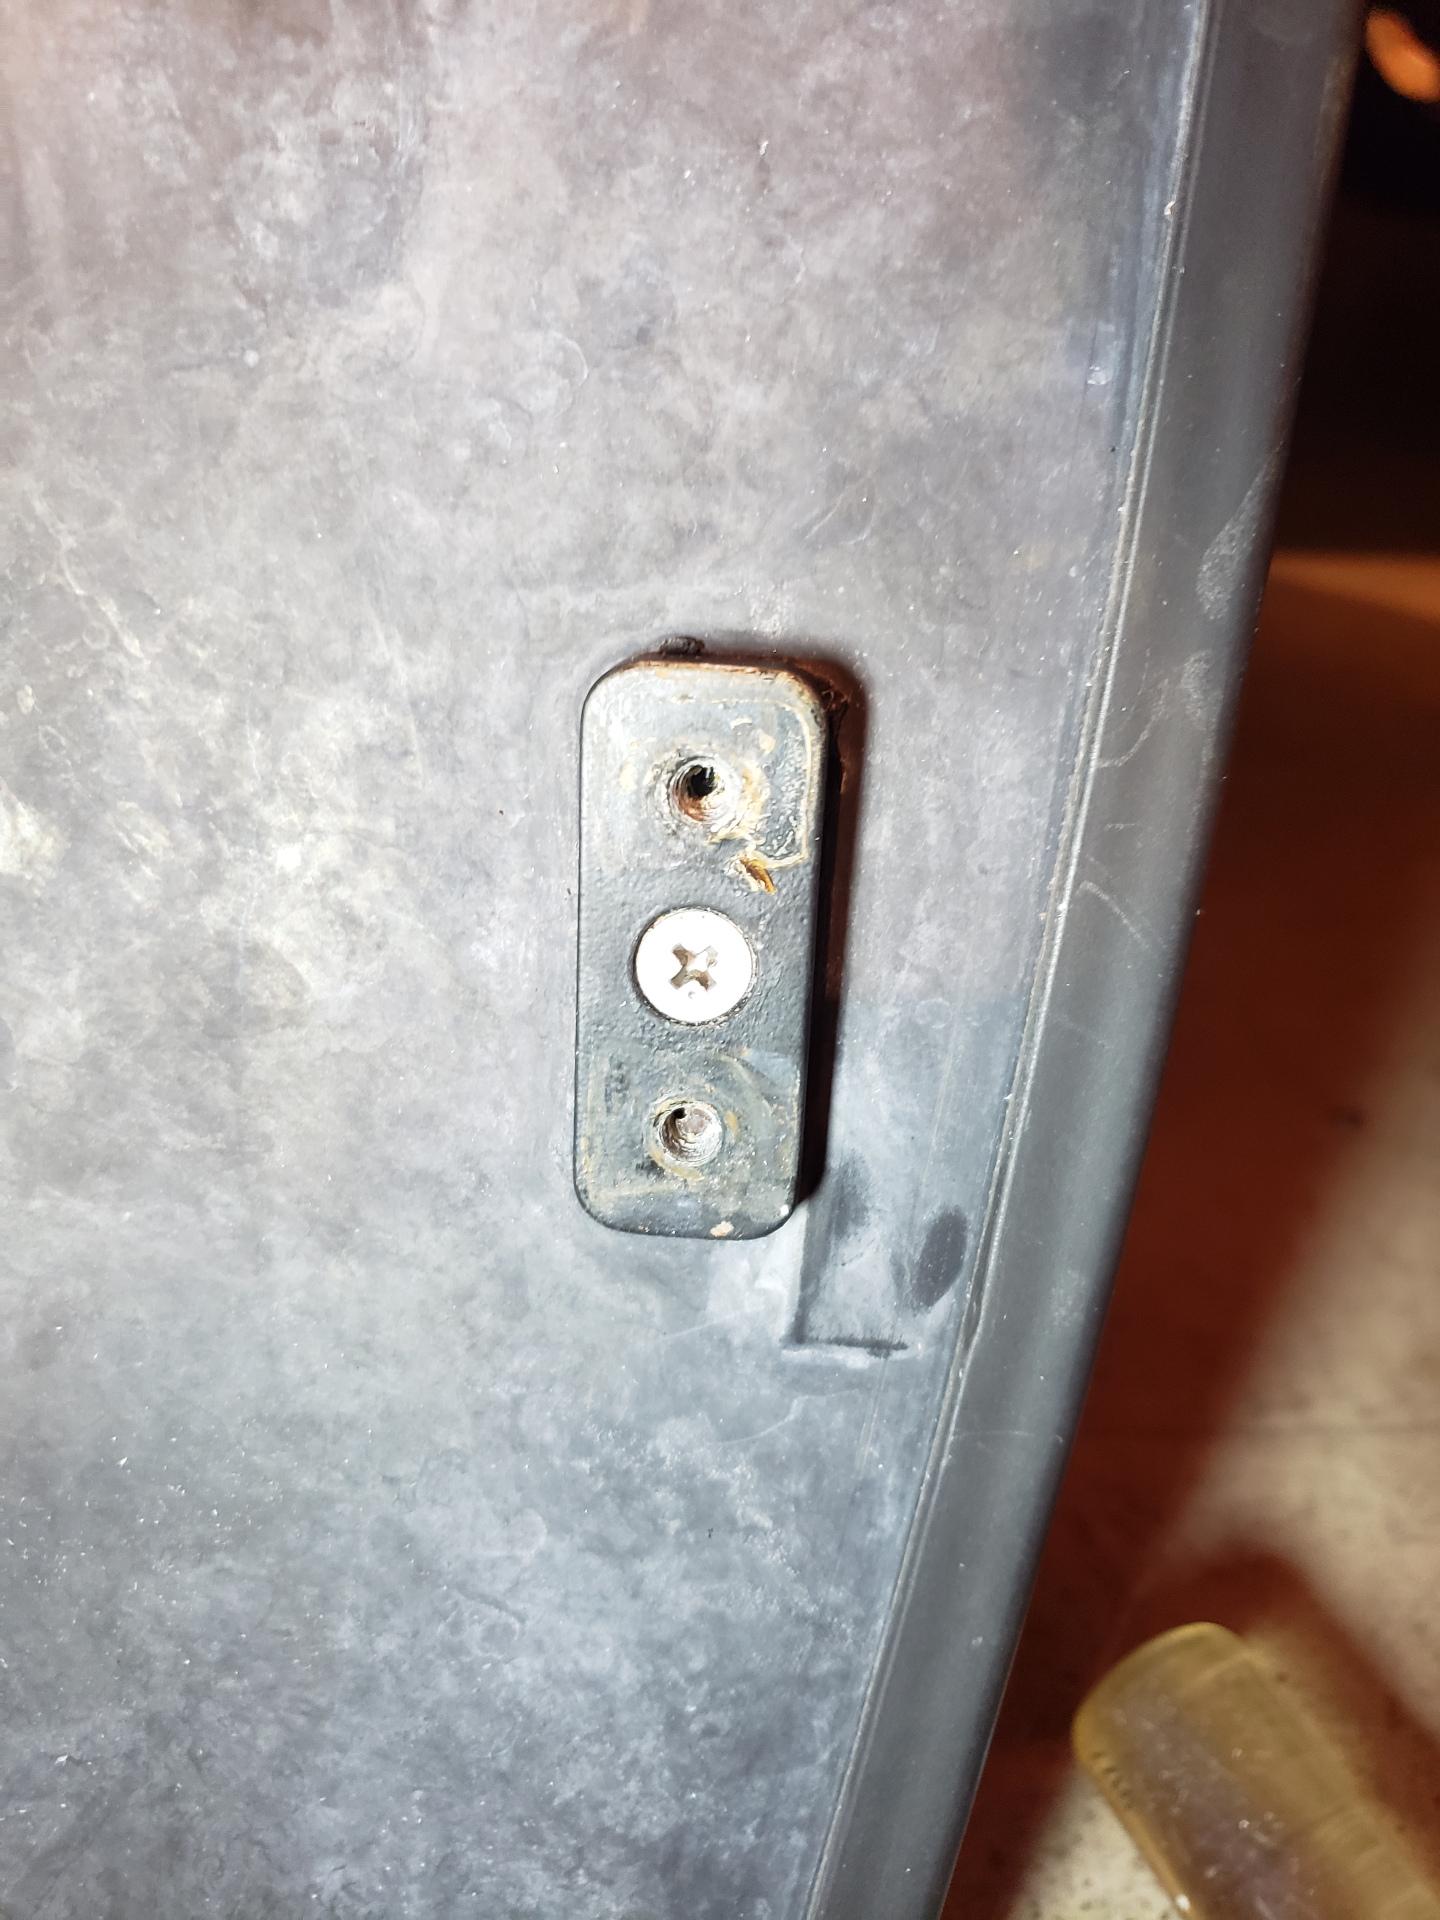 Step 2: Remove the metal bracketThis step is similar to the previous one. Unscrew the countersunk screw to disconnect the metal pieces on each side of the glass. Note that there is adhesive between the metal piece on the bottom of the glass and the glass itself, so it may need to be pried off. Once this piece is removed, remove the piece from the top of the glass as well. (These are the two leftmost pieces in the parts list above)  Step 3: Remove adhesive residueBefore we can install the new sunroof clip, we need to remove the adhesive residue from the sunroof. I found that scraping the residue off was the most efficient method, as I plan to refinish the surface in the future anyway. Use rubbing alcohol to get any remaining residue off and clean the top of the glass as well. When finished, both sides of the sunroof should be relatively clean.  Step 4: Prepare the metal bracketAs mentioned, there was adhesive attached to the metal bracket on the bottom of the sunroof. Before installing the new bracket, we need to attach the adhesive sticker that came with the kit on the new bracket.  First, get the replacement metal bracket and the adhesive sticker. On the 3SX kit, there is stamped text telling us which side points toward the glass. As you can see, the text “IN” is stamped at the bottom of the metal bracket. This is the side to attach the sticker to. 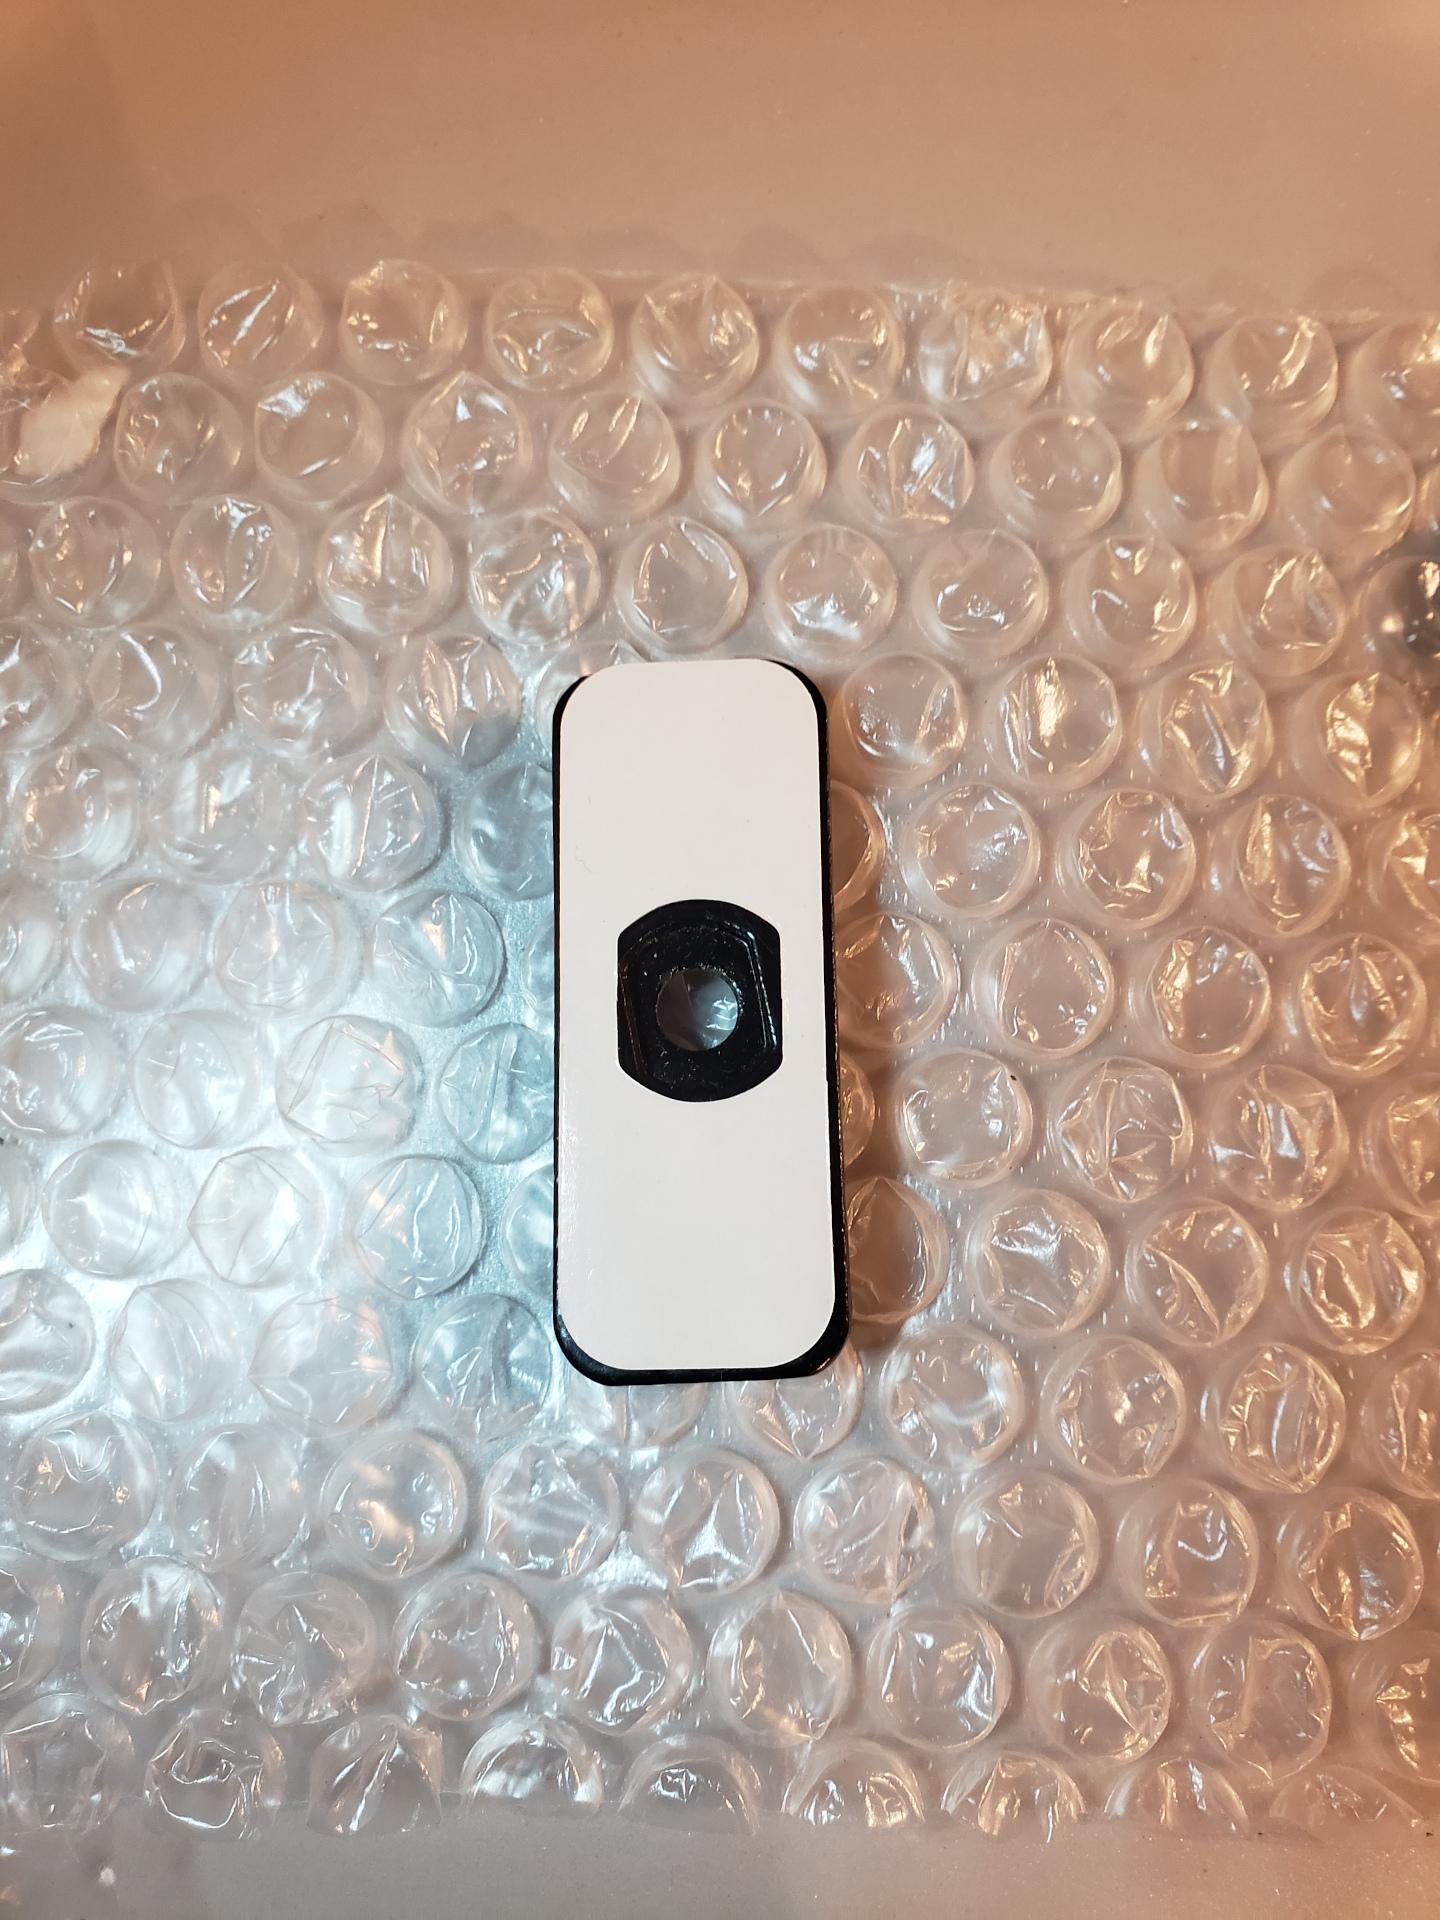 To attach the sticker, simply remove the protective film on one side of the sticker and carefully line up the hole and press the two pieces together. Be careful to not remove the second protective film on the other side of the sticker until ready to install. Step 5: Install the bracketThis is the most difficult step of the entire process. In one step, we need to push the smooth metal clip through the front side of the sunroof into the metal bracket and screw the two sides together. I found that the best way to do this is to press the smooth metal piece in from the front side of the sunroof, and then stick the metal bracket on top of the threaded extrusion and screw the pieces together. 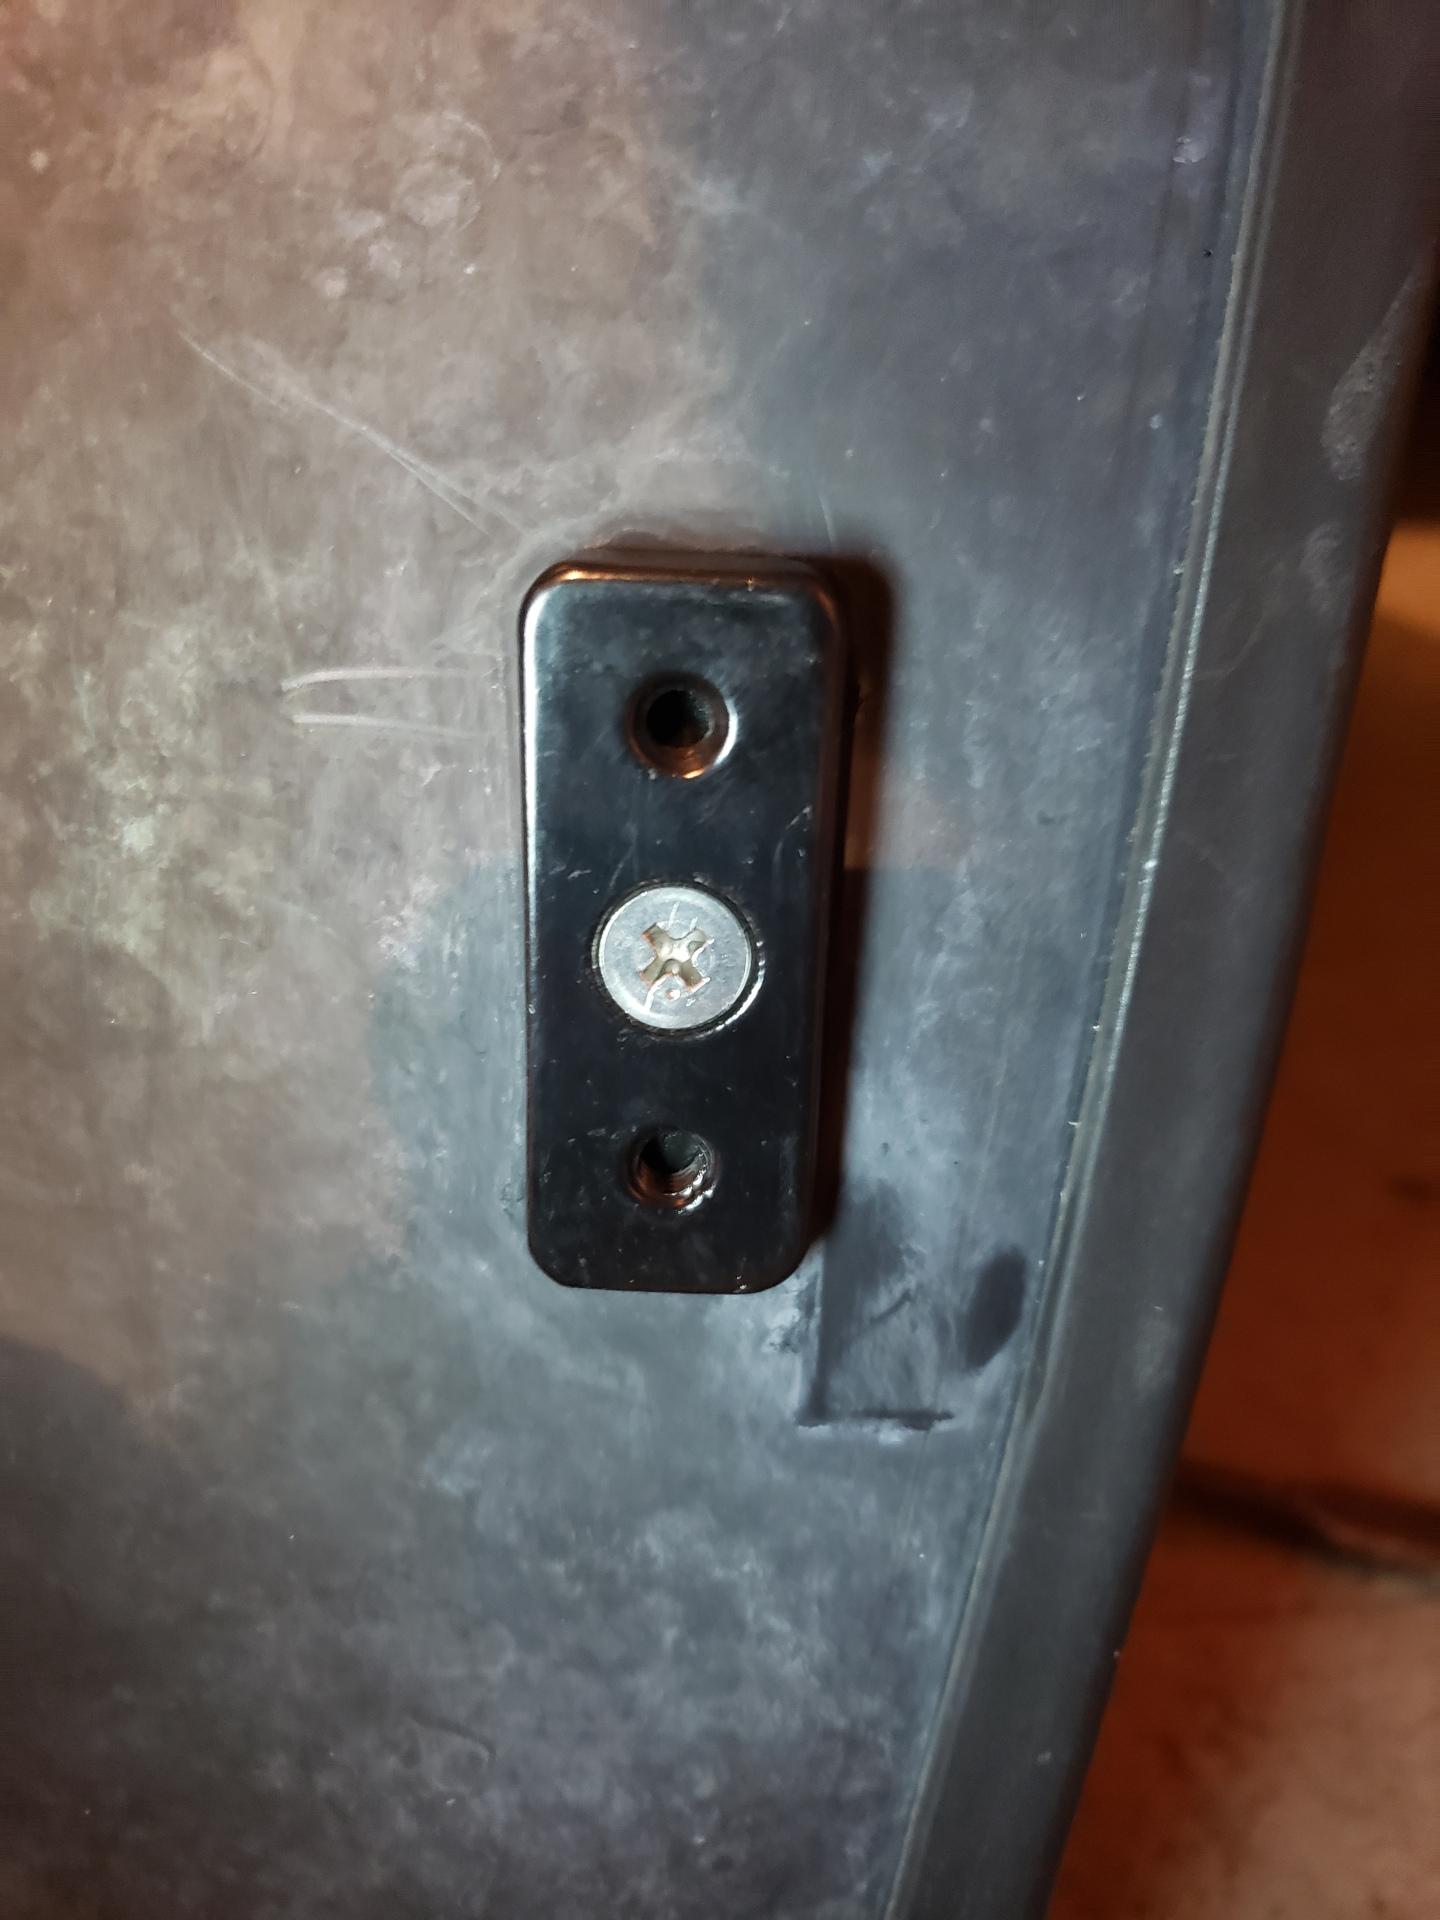 The smooth metal piece has rubber around the extrusion to keep water out, so it will be difficult to screw the pieces together. Remember to remove the sticker adhesive before doing this step to create a strong watertight seal between all parts and the glass. Step 6: Prepare the metal clipAlmost there! This step is one of the easiest. We simply need to rotate the rubber pad so it fits behind the metal clip before screwing it into place. 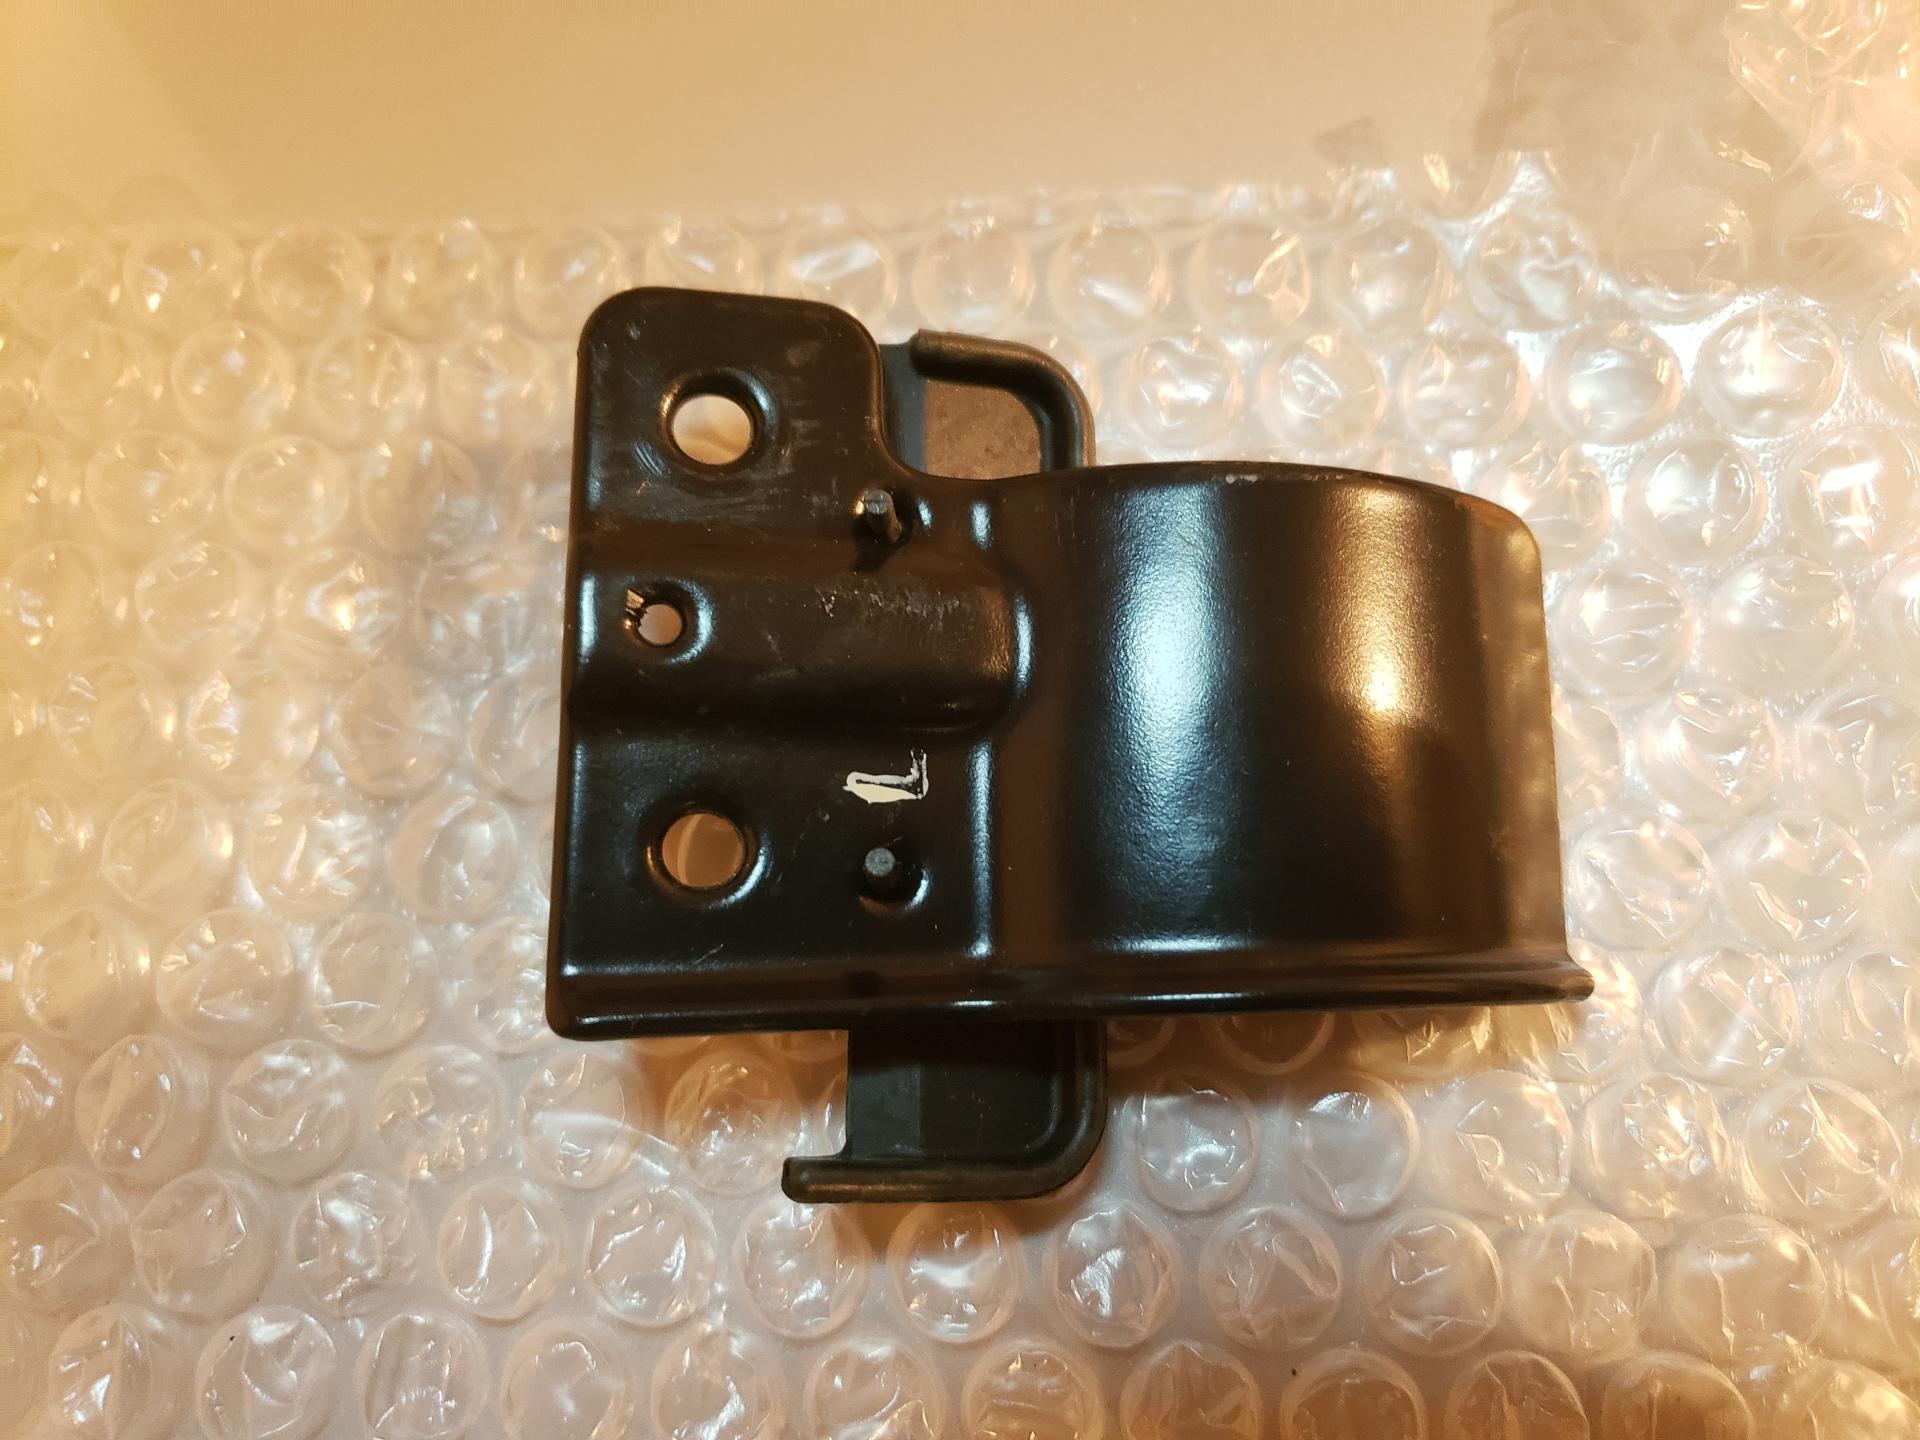 As you can see, the rubber pad should be oriented so the “lip” points toward the front of the car. The part of the pad that sticks out will also point toward the outside of the car. As long as the rubber prongs easily fit into the smaller holes on the clip, the clip is ready to be installed! Step 7: Install the metal clipLast step! Take the metal clip and rubber insert and screw them into the metal bracket, with the curved clip facing the front of the car. 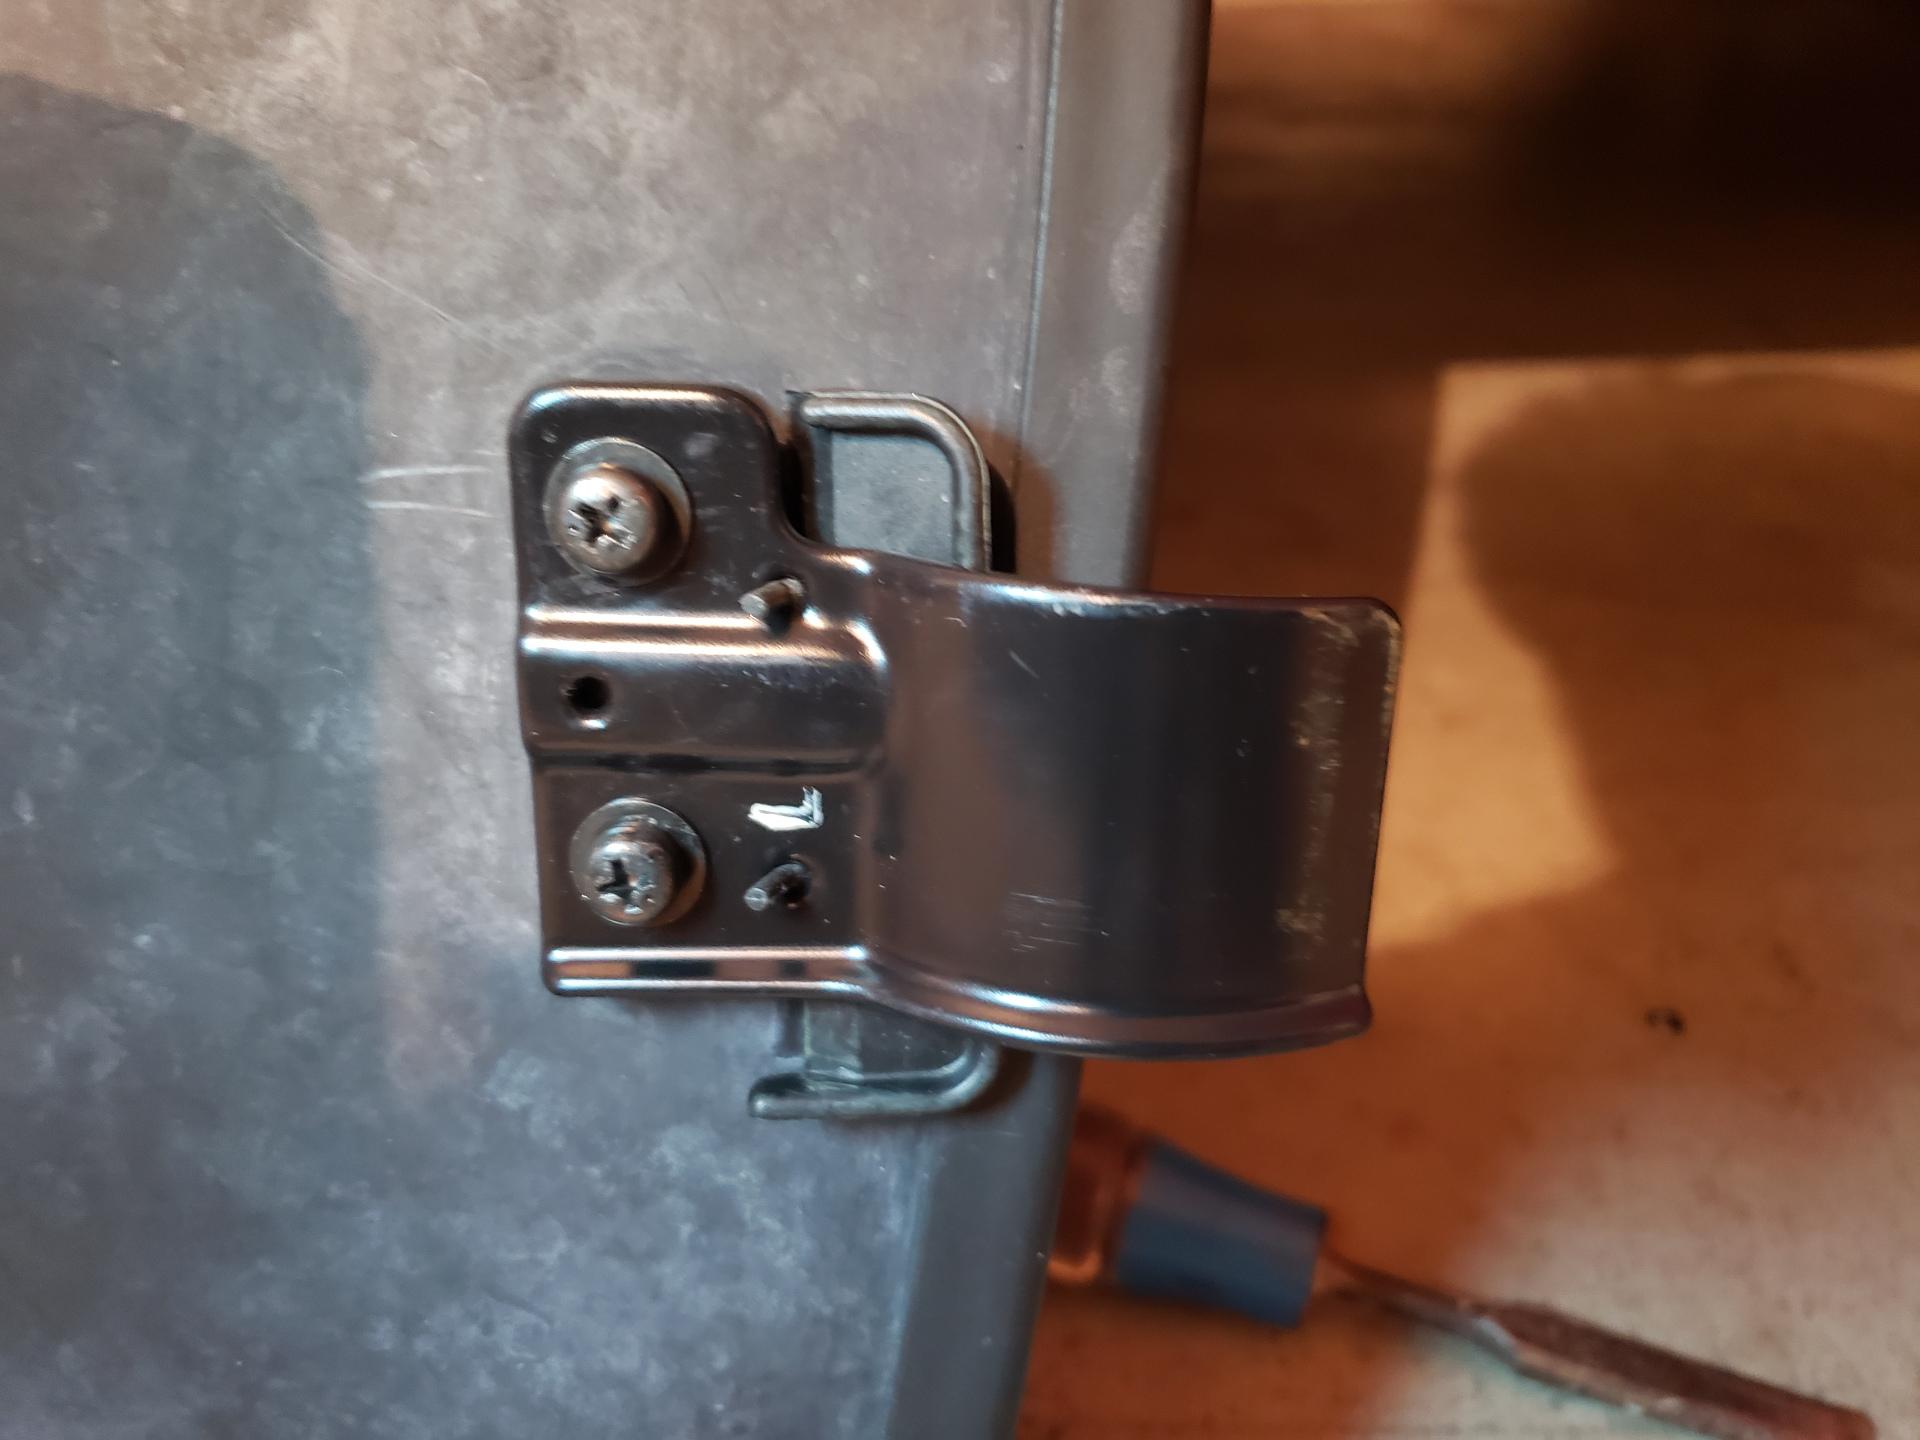 Follow the same steps for the other sunroof clip (if needed), and the sunroof should easily slide into the holes in the frame of the car like new! 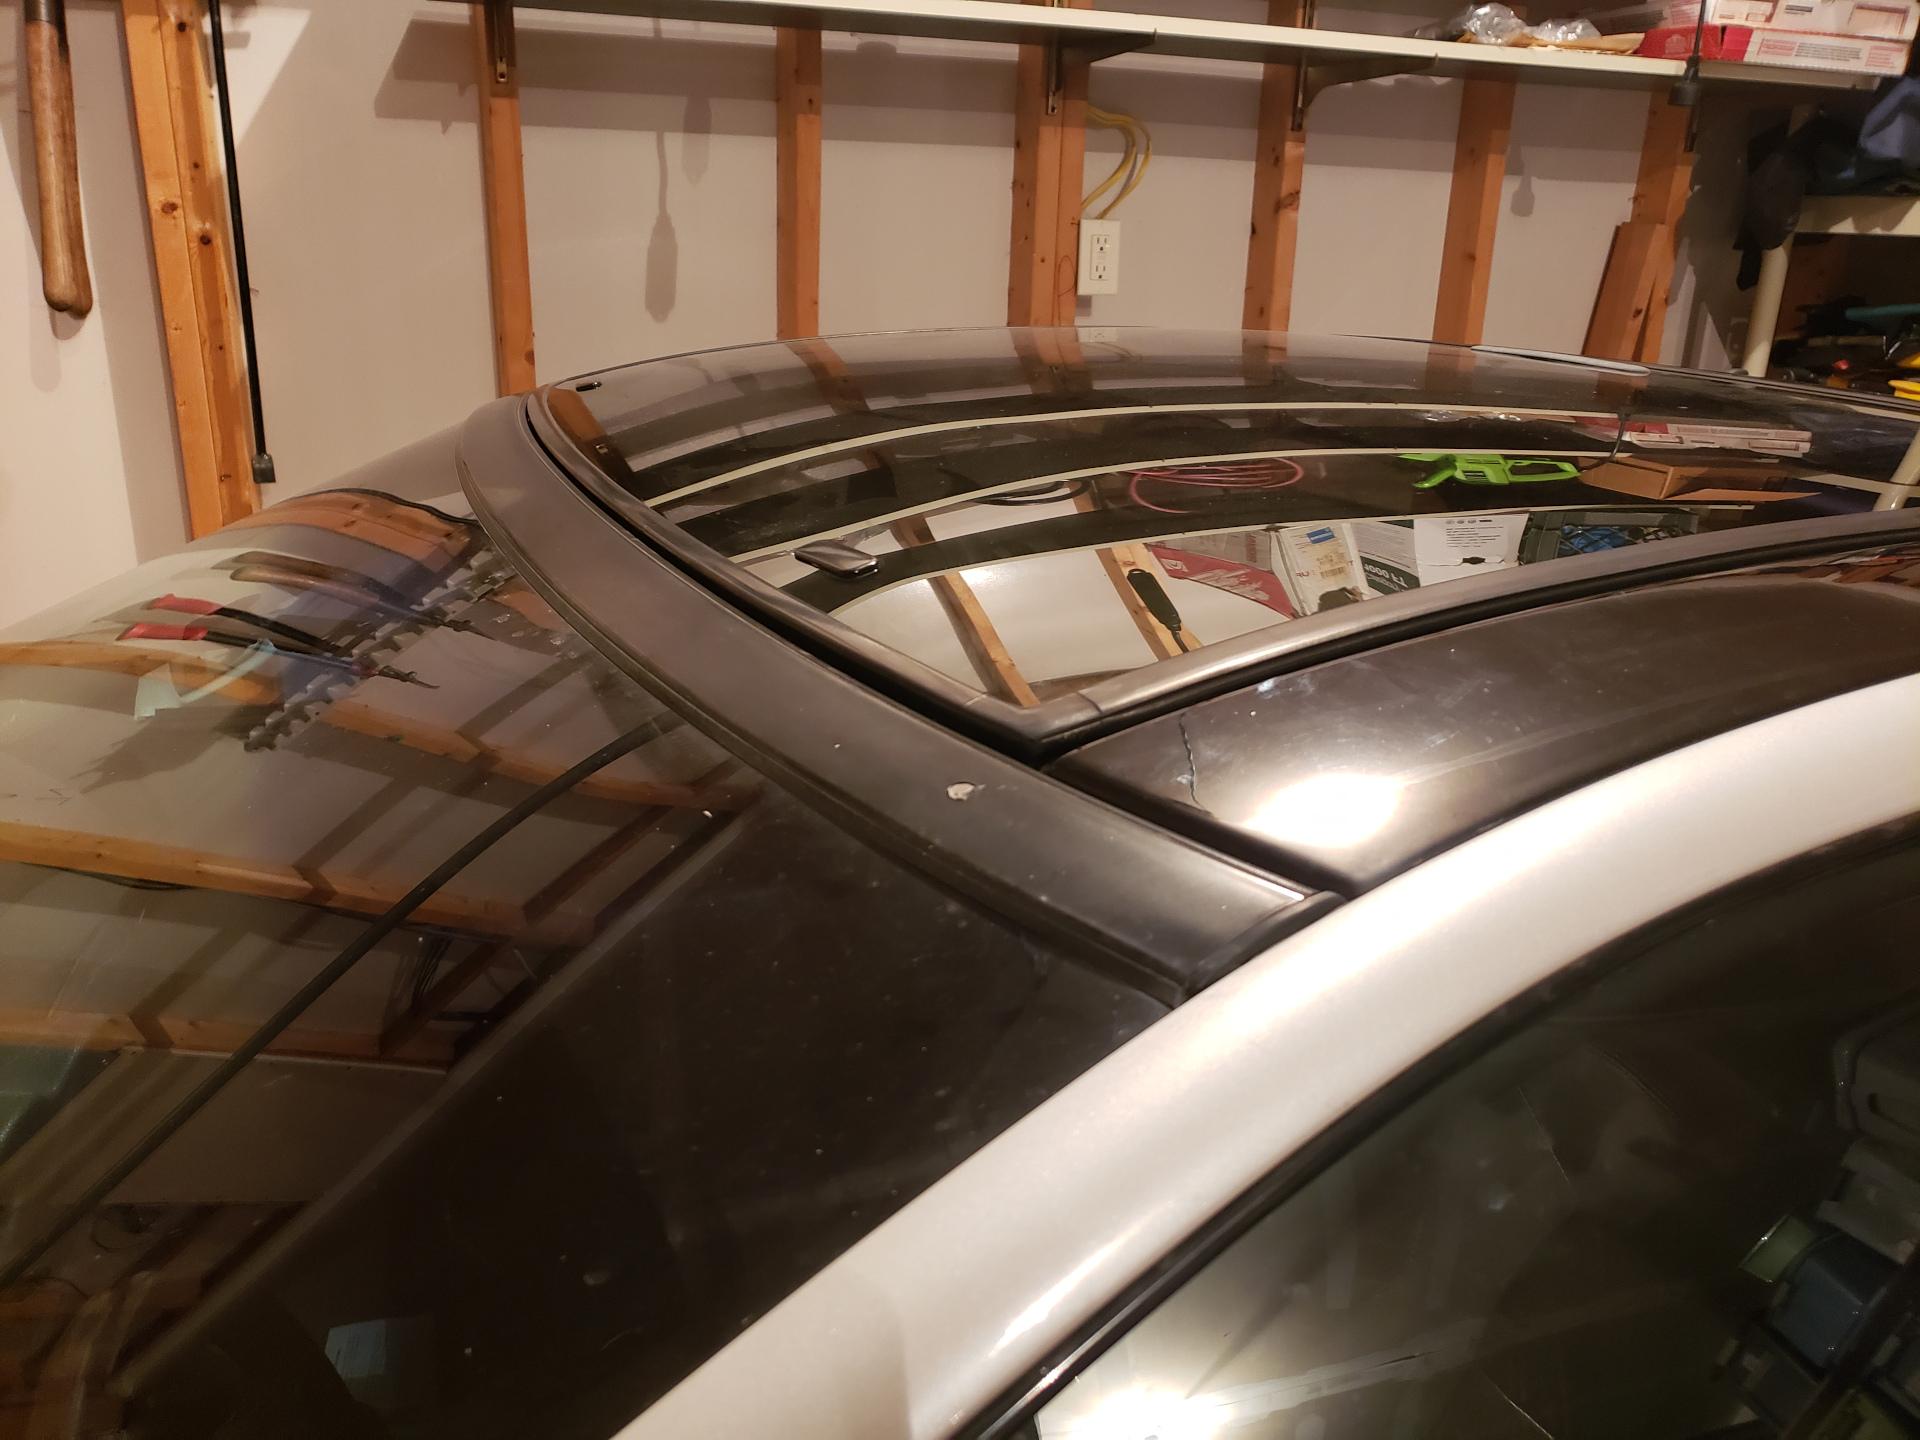 |